Choosing the Right Primer for Your Classic Car
Select the ideal primer for your classic car's paint job. Compare different types of primers based on their properties and compatibility. Achieve a smooth and durable finish.
Understanding the Importance of Primer in Classic Car Restoration Primer Selection Guide
Okay, so you've spent hours meticulously hammering out dents, welding in new metal, and sanding everything smooth. You're ready to lay down some color on your classic car, but hold on a second! Skipping the primer is like building a house on a shaky foundation. Primer is the unsung hero of a great paint job, and choosing the right one is absolutely crucial for a lasting, beautiful finish. Think of it as the glue that bonds your paint to the metal, providing a smooth, uniform surface and protecting against rust. Without it, you're just asking for trouble – peeling, chipping, and a generally lackluster appearance down the road.
Types of Primers for Classic Cars Choosing the Best Primer Type
There’s a whole world of primers out there, and navigating it can feel overwhelming. Let’s break down the most common types and when to use them:
- Etch Primer (Self-Etching Primer): This stuff is your go-to for bare metal. It contains phosphoric acid that literally etches into the metal surface, creating a super strong bond. Think of it as a chemical handshake between the primer and the metal. It’s fantastic for preventing rust, but it's not great for filling imperfections.
- Epoxy Primer: Epoxy primers are known for their exceptional corrosion resistance and adhesion. They're a great all-around choice, especially if you live in a humid climate or plan on driving your classic in all kinds of weather. They also offer good build, meaning they can help fill minor imperfections.
- Urethane Primer: Urethane primers are super durable and flexible, making them a good choice for cars that might experience some flexing. They also offer excellent build and sandability, meaning you can get a really smooth surface before applying your topcoat.
- Acrylic Primer: Acrylic primers are generally the most affordable option, but they're not as durable or corrosion-resistant as epoxy or urethane primers. They're best suited for cars that are stored indoors and won't be exposed to harsh weather.
- Primer Surfacer (High-Build Primer): This is your heavy hitter for filling in imperfections like scratches, dings, and minor bodywork repairs. It’s designed to be sanded smooth, creating a perfectly level surface for your topcoat. You'll often use this after an etch or epoxy primer.
Matching Primer to Paint Compatibility Considerations
Now, here's a critical piece of the puzzle: making sure your primer and paint are compatible. Using the wrong combination can lead to all sorts of problems, like the paint not adhering properly, cracking, or even reacting chemically with the primer. The easiest way to avoid this headache is to stick with the same brand and system for both your primer and paint. Most paint manufacturers offer specific recommendations for primers that are compatible with their paints. Read the technical data sheets (TDS) carefully! They're your best friend in this situation. If you're unsure, ask your local automotive paint supplier – they're usually happy to help you find the right combination.
Product Recommendations and Comparisons Best Primers for Classic Car Restoration
Alright, let's get down to some specific product recommendations. Keep in mind that prices can vary depending on your location and supplier, so consider these as general guidelines.
- For Bare Metal (Etch Primer):
- Eastwood Self Etching Primer: A popular and reliable choice for bare metal. It provides excellent adhesion and corrosion protection. Expect to pay around $30-$40 per quart. Usage Scenario: Ideal for freshly sandblasted or media-blasted body panels.
- SEM Self Etching Primer: Another excellent option with a reputation for consistent performance. Slightly more expensive, around $40-$50 per quart. Usage Scenario: Great for smaller areas of bare metal or spot repairs.
- For Overall Corrosion Protection (Epoxy Primer):
- SPI Epoxy Primer: Considered by many to be the gold standard in epoxy primers. Offers exceptional corrosion resistance and adhesion. Priced around $150-$200 per gallon kit (primer + activator). Usage Scenario: Recommended for full car restorations, especially if the car will be exposed to the elements.
- PPG DP Series Epoxy Primer: A well-respected epoxy primer from a trusted brand. Offers good corrosion protection and build. Expect to pay around $120-$150 per gallon kit. Usage Scenario: A good alternative to SPI, especially if you're already using PPG products for your topcoat.
- For Filling Imperfections (High-Build Primer Surfacer):
- Evercoat Rage Gold Premium Filler: While technically a body filler, it can also be used as a high-build primer for filling minor imperfections. Sands easily and provides a smooth surface. Priced around $40-$50 per gallon. Usage Scenario: Ideal for filling small dents, scratches, and imperfections after bodywork.
- 3M High Build Primer: A good quality high-build primer that sands easily. Expect to pay around $60-$70 per quart. Usage Scenario: A good choice for achieving a perfectly smooth surface before applying your topcoat.
Primer Comparison:
| Primer Type | Pros | Cons | Typical Price (per quart/gallon) |
|---|---|---|---|
| Etch Primer | Excellent adhesion to bare metal, rust prevention | Not good for filling imperfections | $30-$50/quart |
| Epoxy Primer | Exceptional corrosion resistance, good adhesion | Can be more expensive | $120-$200/gallon kit |
| Urethane Primer | Durable, flexible, good build and sandability | May not be as corrosion-resistant as epoxy | $80-$120/gallon |
| Acrylic Primer | Affordable | Less durable, less corrosion-resistant | $40-$60/gallon |
| High-Build Primer | Fills imperfections, sands easily | Requires a base primer underneath | $40-$70/quart |
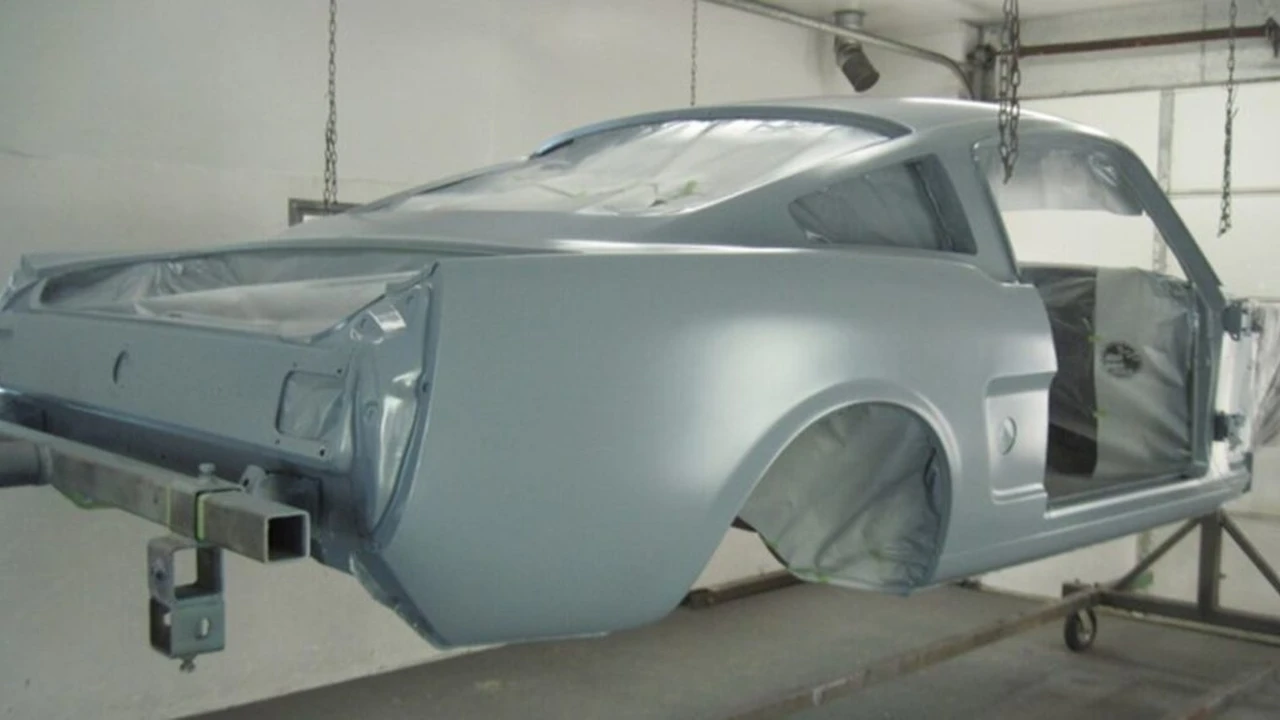
Surface Preparation for Primer Application Primer Application Techniques
Before you even think about opening that can of primer, you need to make sure your surface is prepped correctly. This is arguably the most important step in the entire process. Start by cleaning the surface thoroughly with a wax and grease remover. This will remove any contaminants that could prevent the primer from adhering properly. Next, sand the surface with the appropriate grit sandpaper. For bare metal, you'll want to use a coarser grit (around 80-120 grit) to create some "tooth" for the primer to grab onto. For previously painted surfaces, you can use a finer grit (around 220-320 grit) to scuff the surface and create a good bond. Finally, wipe the surface down again with a tack cloth to remove any sanding dust.
Applying Primer Like a Pro Spraying Techniques and Tips
Now for the fun part: applying the primer! If you're using a spray gun, make sure you have the correct settings. Consult the technical data sheet for your specific primer to find the recommended air pressure and nozzle size. Apply the primer in thin, even coats, overlapping each pass by about 50%. This will help prevent runs and ensure a uniform coverage. Allow each coat to dry completely before applying the next. The number of coats you'll need will depend on the type of primer and the condition of the surface. For etch primer, one or two coats is usually sufficient. For high-build primer, you may need three or more coats to fill in all the imperfections. If you're using aerosol cans, shake them well before use and hold them about 10-12 inches from the surface. Apply the primer in the same thin, even coats as you would with a spray gun.
Sanding Primer for a Smooth Finish Achieving a Flawless Surface
Once the primer is completely dry, it's time to sand it smooth. This is where you'll really refine the surface and get it ready for your topcoat. Start with a relatively coarse grit sandpaper (around 320-400 grit) to remove any imperfections like orange peel or runs. Then, gradually work your way up to a finer grit (around 600-800 grit) to smooth out the surface even further. Use a sanding block to ensure you're sanding evenly and avoiding creating any low spots. Keep the sandpaper clean and change it frequently as it becomes clogged. Wipe the surface down with a tack cloth after each sanding stage to remove any sanding dust.
Troubleshooting Common Primer Problems Addressing Issues and Solutions
Sometimes, things don't go exactly as planned. Here are some common primer problems and how to fix them:
- Runs: Runs are caused by applying too much primer in one area. If you catch them while the primer is still wet, you can try to brush them out. If the primer has already dried, you'll need to sand them down and reapply the primer.
- Orange Peel: Orange peel is a textured surface that looks like the skin of an orange. It's usually caused by spraying the primer too thick or using the wrong spray gun settings. Sand the surface smooth and reapply the primer using the correct technique.
- Pinholes: Pinholes are small holes in the primer surface. They're usually caused by air bubbles trapped in the primer. Make sure you're mixing the primer thoroughly and applying it in thin, even coats.
- Lifting: Lifting occurs when the primer reacts with the underlying paint or body filler, causing it to wrinkle or bubble. This is usually caused by using incompatible products. Remove the affected area and reapply the primer using compatible products.
Safety Precautions When Working With Primers Protective Gear and Ventilation
Working with automotive primers can be hazardous if you don't take the necessary safety precautions. Always wear a respirator to protect yourself from inhaling harmful fumes. Wear gloves to protect your skin from contact with the primer. Work in a well-ventilated area to prevent the buildup of fumes. Dispose of used primer and rags properly according to local regulations. Read the safety data sheet (SDS) for your specific primer to learn about any specific hazards and precautions.
Cost Considerations for Priming a Classic Car Budgeting for Materials
The cost of priming a classic car can vary depending on the size of the car, the type of primer you use, and whether you hire a professional or do it yourself. Expect to spend anywhere from $100 to $500 on materials alone. If you hire a professional, the cost could be significantly higher. Get quotes from several different shops before making a decision. Doing it yourself can save you money, but it also requires more time and effort. Weigh the pros and cons carefully before making a decision.
Final Thoughts on Choosing the Right Primer Considerations for Long-Term Durability
Choosing the right primer is an essential step in restoring your classic car's paint job. By understanding the different types of primers, matching them to your paint, and applying them correctly, you can achieve a durable, beautiful finish that will last for years to come. Don't skimp on this step – it's an investment that will pay off in the long run!
:max_bytes(150000):strip_icc()/277019-baked-pork-chops-with-cream-of-mushroom-soup-DDMFS-beauty-4x3-BG-7505-5762b731cf30447d9cbbbbbf387beafa.jpg)