Clear Coat Application: Protecting Your Paint Job
Discover the benefits of applying a clear coat to your classic car's paint job. Learn how to choose the right clear coat and apply it properly. Enhance the gloss and durability of your finish.
Why Clear Coat Matters for Classic Car Paint Protection and Longevity
Okay, so you've spent countless hours prepping, priming, painting, and maybe even color sanding your classic beauty. You're staring at a gorgeous, glossy finish, and you're feeling pretty darn proud. But hold on a second! You're not quite done yet. That lovely paint job needs protection, and that's where clear coat comes in. Think of it as the ultimate shield for your hard work, guarding against scratches, UV damage, and all the other nasty stuff the road throws at it. Seriously, skipping clear coat is like building a castle without a moat – it looks good, but it's vulnerable.
Understanding Different Types of Clear Coat for Auto Finishes and Their Properties
Not all clear coats are created equal! You've got a few options to choose from, each with its own set of pros and cons. Let's break them down:
- Acrylic Lacquer Clear Coat: This is the old-school choice, often used on older restorations to maintain a period-correct finish. It's easy to apply and buffs to a nice shine, but it's not the most durable and can be sensitive to solvents. Think of it as the vintage option.
- Acrylic Enamel Clear Coat: A step up in durability from lacquer, enamel clear coats offer better resistance to chemicals and UV damage. However, they can be a bit trickier to apply and may require specific hardeners.
- Polyurethane Clear Coat: This is where things get serious! Polyurethane clear coats are incredibly durable, offering excellent scratch and chemical resistance. They also provide a deep, glossy finish. The downside? They can be more expensive and require careful application to avoid runs and sags.
- Two-Part (2K) Urethane Clear Coat: The gold standard for modern automotive finishes. 2K urethanes are extremely durable, UV-resistant, and offer a stunning, long-lasting gloss. They require mixing with a hardener and reducer, so you'll need to be precise with your measurements. They are also isocyanate based and require proper safety gear and ventilation.
- Water-Based Clear Coat: Increasingly popular due to their lower VOC (Volatile Organic Compound) emissions, water-based clear coats are environmentally friendly. They offer good durability and gloss, but can be more challenging to apply than solvent-based options, requiring specific equipment and techniques.
Choosing the Right Clear Coat Product for Your Classic Car Restoration Project and Budget
Alright, so how do you pick the right clear coat for your project? Here's a quick guide:
- Consider the Original Finish: If you're aiming for a concours-level restoration, research what type of clear coat (if any) was originally used on your car. Sticking with period-correct materials will enhance its authenticity.
- Think About Durability: How much abuse will your car be subjected to? If it's a daily driver, you'll want a more durable clear coat like a 2K urethane. If it's a show car that rarely sees the road, you might be able to get away with a less robust option.
- Factor in Your Budget: Clear coats vary widely in price. Lacquer clear coats are generally the cheapest, while 2K urethanes are the most expensive. Don't skimp entirely, but be realistic about what you can afford.
- Assess Your Skill Level: Some clear coats are easier to apply than others. If you're a beginner, start with a more forgiving product like a single-stage enamel. If you're experienced with spraying, you can tackle a more demanding option like a 2K urethane.
Recommended Clear Coat Products and Their Applications
Here are a few specific clear coat products that are popular among classic car restorers:
- For a Budget-Friendly Option: Eastwood 2K AeroSpray Clear ($29.99 per can). This is a convenient, easy-to-use 2K urethane clear coat in an aerosol can. It's a great choice for smaller projects or touch-ups. It provides good gloss and durability for the price. Perfect for DIYers looking for convenience.
- For a Show-Quality Finish: PPG Deltron DCU2021 Concept Clearcoat (around $300 per gallon, plus hardener and reducer). This is a high-end 2K urethane clear coat that delivers exceptional gloss, clarity, and durability. It's a favorite among professional painters for achieving a show-winning finish. Best for professional applications and high-end restorations.
- For a Classic Look: Transtar Euro Classic Clear (around $150 per gallon, plus hardener and reducer). This clearcoat is designed to replicate the look of older European finishes, offering a slightly softer gloss than modern clearcoats. Good for restorations that require a more subtle, vintage appearance.
- For an Eco-Friendly Choice: Sherwin-Williams Automotive Finishes Ultra 7000 Waterborne Clearcoat (around $250 per gallon, plus hardener and reducer). A water-based option that reduces VOC emissions while still providing good gloss and durability. Ideal for those looking to minimize their environmental impact.
Preparing Your Car for Clear Coat Application: Surface Prep is Key
Before you even think about spraying clear coat, you need to make sure your surface is absolutely perfect. Any imperfections in the base coat will be magnified by the clear coat, so take your time and do it right.
- Sanding: Start by wet sanding your base coat with fine-grit sandpaper (e.g., 2000-grit or 3000-grit). This will remove any orange peel or imperfections and create a smooth surface for the clear coat to adhere to.
- Cleaning: Thoroughly clean the surface with a wax and grease remover to remove any contaminants. Even a tiny speck of dust can ruin your finish.
- Tack Cloth: Use a tack cloth to gently wipe down the surface just before spraying. This will pick up any remaining dust particles.
- Masking: Carefully mask off any areas you don't want to be clear coated, such as trim or rubber seals.
Step-by-Step Guide to Applying Clear Coat Using a Spray Gun: Techniques and Best Practices
Now for the fun part! Here's a step-by-step guide to applying clear coat using a spray gun:
- Mix the Clear Coat: Carefully mix the clear coat with the hardener and reducer according to the manufacturer's instructions. Use a mixing cup with accurate measurements to ensure the correct ratio.
- Load the Spray Gun: Pour the mixed clear coat into the spray gun cup.
- Set Up the Spray Gun: Adjust the spray gun settings to achieve a proper fan pattern and fluid flow. This will vary depending on the type of spray gun you're using, so consult the manufacturer's instructions. Generally, you'll want a wide fan pattern and a medium fluid flow.
- Test Spray: Practice spraying on a test panel to get a feel for the gun and the clear coat. Adjust the settings as needed.
- Apply the First Coat: Apply a light, even coat of clear coat, overlapping each pass by about 50%. Keep the gun moving at a consistent speed and distance from the surface.
- Flash Time: Allow the first coat to flash (partially dry) according to the manufacturer's instructions. This is typically around 15-30 minutes.
- Apply the Second Coat: Apply a second, slightly heavier coat of clear coat, again overlapping each pass by about 50%. This coat will provide the gloss and depth you're looking for.
- Optional Third Coat: For even more gloss and durability, you can apply a third coat of clear coat. However, be careful not to apply too much clear coat, as this can lead to runs and sags.
Troubleshooting Common Clear Coat Application Problems and Solutions
Even with the best preparation, things can sometimes go wrong. Here are a few common clear coat application problems and how to fix them:
- Runs and Sags: This happens when you apply too much clear coat in one area. To fix it, you'll need to sand down the run or sag and re-clear coat the area.
- Orange Peel: This is a textured surface that looks like the skin of an orange. It's caused by the clear coat not flowing out properly. To fix it, you'll need to wet sand the surface with fine-grit sandpaper and then buff it to a smooth finish.
- Fish Eyes: These are small, circular craters in the clear coat. They're caused by contamination on the surface. To fix it, you'll need to sand down the affected area and re-clear coat it after thoroughly cleaning the surface.
- Solvent Pop: This is when small bubbles appear in the clear coat after it has dried. It's caused by solvents trapped in the base coat or clear coat. To fix it, you'll need to sand down the affected area and re-clear coat it, making sure to allow sufficient flash time between coats.
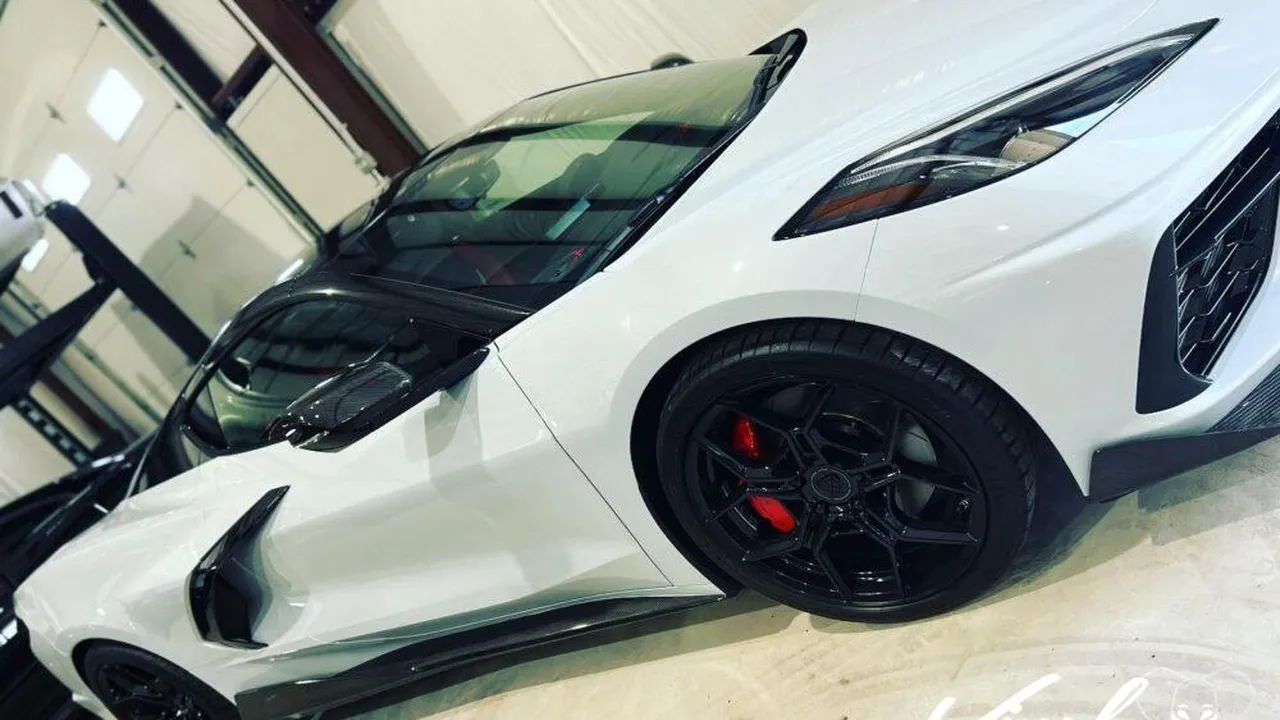
Buffing and Polishing Clear Coat for Maximum Gloss and Shine
Once the clear coat has fully cured (usually after a few days), you can start buffing and polishing it to achieve maximum gloss and shine. This process involves using progressively finer grits of polishing compound to remove any imperfections and create a mirror-like finish.
- Wet Sanding (Optional): If you have any significant orange peel or imperfections, you may need to wet sand the clear coat with fine-grit sandpaper (e.g., 2000-grit or 3000-grit) before buffing.
- Buffing: Use a rotary buffer with a polishing pad and a medium-cut polishing compound to remove any sanding scratches and level the surface.
- Polishing: Use a rotary buffer with a polishing pad and a fine-cut polishing compound to remove any swirl marks and enhance the gloss.
- Finishing: Use a rotary buffer with a finishing pad and a finishing polish to create a deep, mirror-like shine.
Protecting Your Clear Coated Finish: Waxing, Sealants, and Ceramic Coatings
Now that you've got a beautiful clear coat finish, you'll want to protect it from the elements. Here are a few options:
- Waxing: Waxing provides a temporary layer of protection against UV damage, water spots, and other contaminants. It also enhances the gloss of the finish. Apply wax every few months for optimal protection.
- Sealants: Sealants offer longer-lasting protection than wax. They bond to the clear coat and create a durable barrier against the elements. Apply sealant every 6-12 months.
- Ceramic Coatings: Ceramic coatings are the ultimate in paint protection. They create a hard, durable layer that is resistant to scratches, chemicals, and UV damage. Ceramic coatings can last for several years. They are expensive and require professional installation.
Cost Considerations for Clear Coat Application: Products, Equipment, and Labor
The cost of applying clear coat can vary widely depending on the products you use, the equipment you need, and whether you hire a professional or do it yourself. Here's a rough breakdown:
- Products: Clear coat, hardener, reducer, sandpaper, wax and grease remover, tack cloth, masking tape – $50 to $500+
- Equipment: Spray gun, air compressor, respirator, mixing cups, measuring sticks – $100 to $1000+
- Labor: Professional paint job – $1000 to $5000+
Doing it yourself can save you a lot of money, but it also requires a significant investment in time and equipment. If you're not comfortable spraying paint, it's best to hire a professional.
Maintaining Your Classic Car's Clear Coat for Years to Come
With proper care and maintenance, your classic car's clear coat finish can last for years to come. Here are a few tips:
- Wash your car regularly: Use a mild car wash soap and a soft wash mitt to remove dirt and grime.
- Dry your car thoroughly: Use a microfiber towel to dry your car and prevent water spots.
- Avoid harsh chemicals: Don't use abrasive cleaners or solvents on your clear coat.
- Park in the shade: Prolonged exposure to sunlight can damage the clear coat.
- Address scratches and imperfections promptly: Use a touch-up paint pen to repair minor scratches and prevent rust.
:max_bytes(150000):strip_icc()/277019-baked-pork-chops-with-cream-of-mushroom-soup-DDMFS-beauty-4x3-BG-7505-5762b731cf30447d9cbbbbbf387beafa.jpg)