Door Panel Restoration: A Step-by-Step Process
Learn how to restore door panels in your classic car with a step-by-step process. Understand the importance of proper fit and finish. Improve the appearance of your interior.
Understanding Classic Car Door Panel Anatomy and Materials
Okay, so you're ready to tackle your classic car's door panels? Awesome! Before we dive in, let's break down what we're dealing with. A classic car door panel isn't just one piece of material. It's usually a layered assembly. You've got the hard backing – often made of cardboard, fiberboard, or even metal in some older models. Then there's the padding – foam, batting, or even horsehair in really vintage rides! And finally, the upholstery – vinyl, leather, cloth, or a combination. Understanding these layers is key to a successful restoration.
The materials themselves vary wildly. Original materials are great if you can salvage them, but sometimes they're just too far gone. Modern replacements offer improved durability and often better resistance to moisture and UV damage. We'll talk about material choices later.
Tools and Supplies for Classic Car Door Panel Restoration Projects
Alright, gear up! You'll need a decent toolkit for this project. Here's a rundown of essential tools and supplies:
- Screwdrivers: Both flathead and Phillips head in various sizes. Those pesky screws can be stubborn.
- Pliers: For removing clips and staples. Needle-nose pliers are especially handy.
- Staple Remover: A must-have for removing old staples without damaging the backing board.
- Upholstery Stapler: A heavy-duty stapler designed for upholstery work. Trust me, a regular stapler won't cut it.
- Contact Cement: For adhering upholstery to the backing board and padding. Use a high-quality, heat-resistant contact cement.
- Spray Adhesive: Good for lighter bonding tasks, like attaching foam padding.
- Razor Blades or Utility Knife: For trimming fabric and foam. Keep 'em sharp!
- Measuring Tape: Accurate measurements are crucial for a professional finish.
- Pencil or Marker: For marking fabric and tracing patterns.
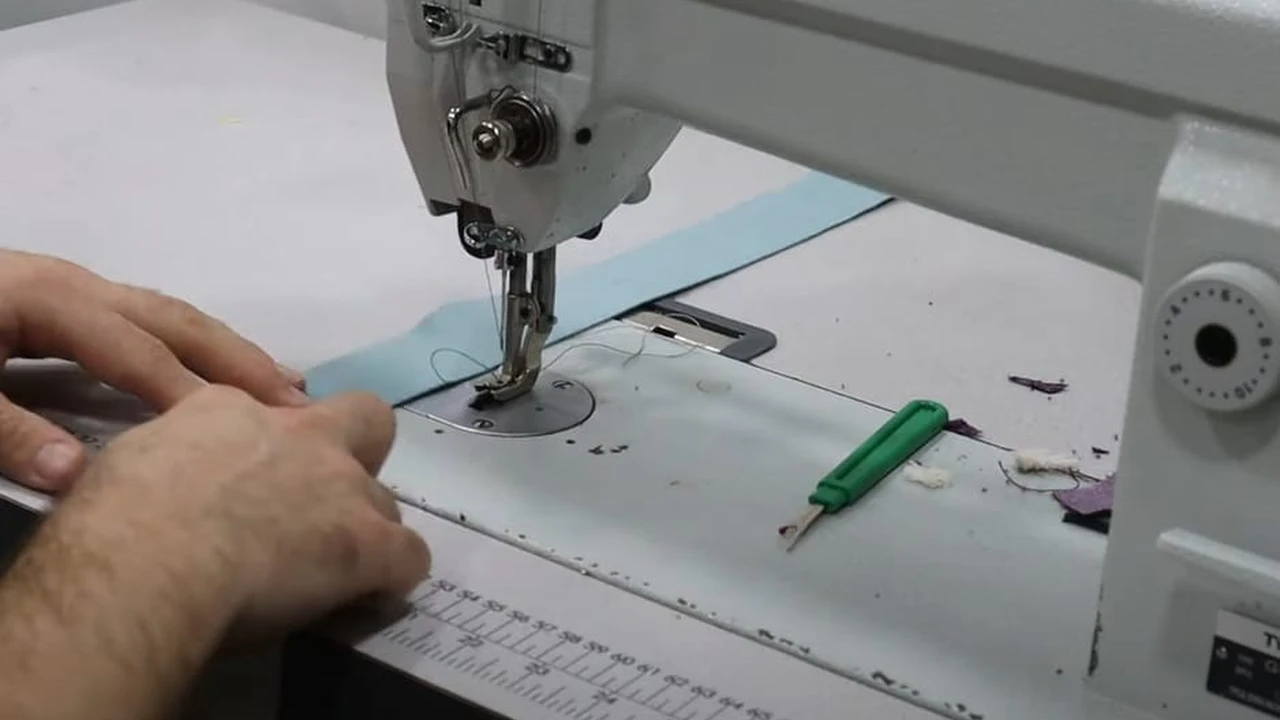
- Sewing Machine (Optional): If you're doing any custom stitching or repairs, a sewing machine is a lifesaver.
- New Upholstery Material: Choose a material that matches the original or complements your car's interior.
- Foam Padding or Batting: Replace worn-out padding for added comfort and support.
- New Clips and Fasteners: Don't reuse old, brittle clips. Replace them with new ones for a secure fit.
- Cleaning Supplies: For cleaning the backing board and other components.
- Safety Glasses and Gloves: Protect yourself from staples, adhesives, and sharp objects.
Step-by-Step Guide Removing Old Door Panels and Upholstery
Time to get our hands dirty! This is where we carefully dismantle the old door panels.
- Remove the Door Panel: Start by removing any screws, clips, or fasteners holding the door panel to the door frame. Be gentle and avoid damaging the panel or the door. A panel removal tool is helpful here.
- Document Everything: Take photos as you disassemble the panel. This will be invaluable when you're putting it back together. Pay attention to the order of layers and the location of clips and fasteners.
- Carefully Remove the Upholstery: Use a staple remover or pliers to remove the staples or tacks holding the upholstery to the backing board. Work slowly and avoid tearing the fabric.
- Inspect the Padding: Examine the foam padding or batting for signs of wear and tear. Replace it if it's crumbling, flattened, or mildewed.
- Clean the Backing Board: Clean the backing board with a mild detergent and water. Remove any dirt, grease, or adhesive residue. Let it dry completely before proceeding.
Repairing and Restoring the Door Panel Backing Board
The backing board is the foundation of your door panel, so it needs to be solid. Here’s how to address common issues:
- Delamination: If the backing board is made of multiple layers and they're separating, apply wood glue between the layers and clamp them together until the glue dries.
- Water Damage: Water damage can weaken the backing board and cause it to warp or crumble. If the damage is severe, you may need to replace the entire backing board. You can use the old board as a template to cut a new one from plywood or fiberboard.
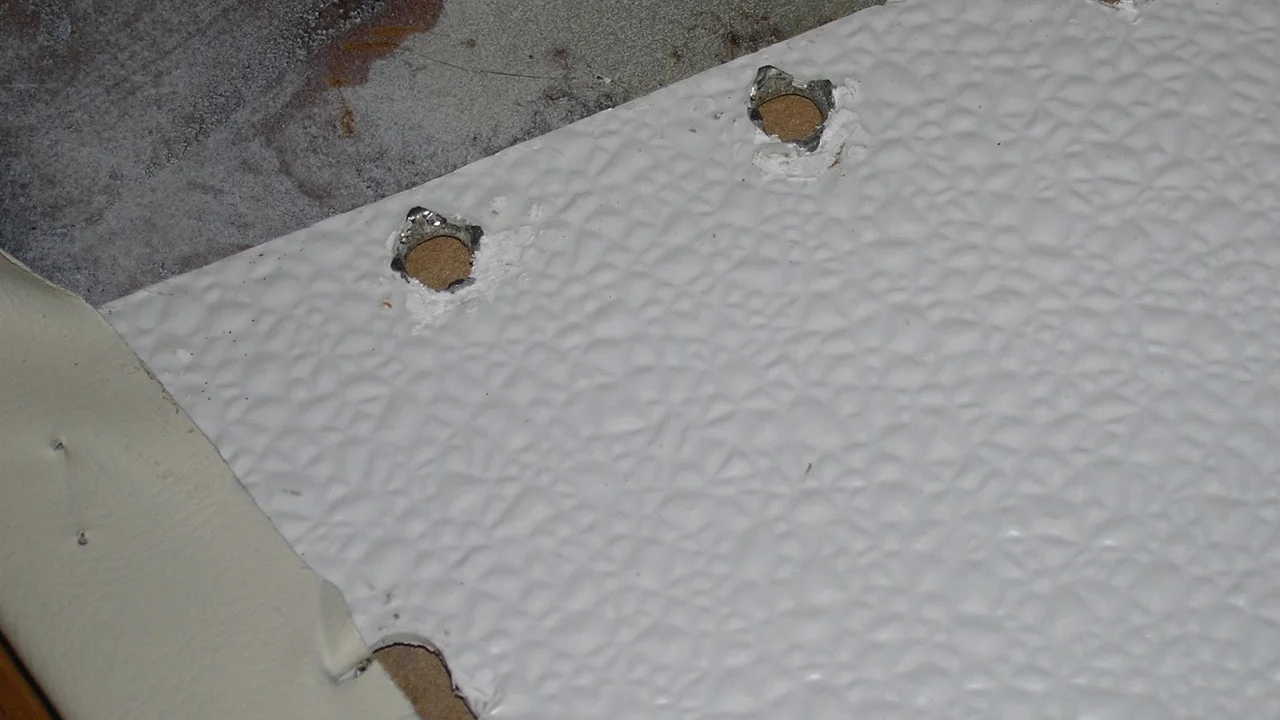
- Cracks and Holes: Fill small cracks and holes with wood filler or epoxy. Sand the filler smooth after it dries.
Selecting New Upholstery Materials for Classic Car Door Panels
Choosing the right upholstery material is crucial for achieving an authentic and durable restoration. Here are some popular options:
- Vinyl: Vinyl is a durable and affordable option that closely resembles leather. It's easy to clean and resistant to water and stains. Look for high-quality automotive-grade vinyl that's designed to withstand UV exposure.
- Leather: Leather is a luxurious and durable option that adds a touch of elegance to your classic car's interior. It's more expensive than vinyl, but it's also more breathable and develops a unique patina over time.
- Cloth: Cloth upholstery is a comfortable and breathable option that comes in a wide variety of colors and patterns. It's less durable than vinyl or leather, but it's also more affordable.
- Original Materials: If you're aiming for a concours-level restoration, try to source original upholstery materials. These can be difficult to find, but they'll ensure that your car is as authentic as possible.
Product Recommendations:
- For Vinyl: "Marhyde Landau Black Vinyl" ($30/yard) - A popular choice for its durability and authentic look. Great for replicating the original vinyl found in many 60s and 70s American cars.
- For Leather: "Katzkin Leather Interior Kit" ($800-$1500 per kit, depending on car model) - A complete leather upholstery kit that includes everything you need to reupholster your seats and door panels. Provides a high-end, customized look.
- For Cloth: "SMS Auto Fabrics" (Prices vary greatly, custom orders) - A great resource for finding original or reproduction cloth fabrics for a wide range of classic cars. They specialize in hard-to-find materials.
Applying New Foam Padding and Upholstery Fabric to Door Panels
Now for the fun part – making those panels look like new!
- Cut the Foam Padding: Use the old padding as a template to cut new foam padding to the correct size and shape. You can use a utility knife or scissors.
- Attach the Foam Padding: Apply spray adhesive to the backing board and the foam padding. Let the adhesive tack up for a few minutes, then carefully attach the padding to the backing board. Smooth out any wrinkles or bubbles.
- Cut the Upholstery Fabric: Lay the old upholstery fabric on top of the new fabric and use it as a template to cut the new fabric to the correct size and shape. Be sure to add extra fabric around the edges for wrapping around the backing board.
- Attach the Upholstery Fabric: Apply contact cement to the backing board and the back of the upholstery fabric. Let the cement tack up for a few minutes, then carefully attach the fabric to the backing board. Start at the center of the panel and work your way outwards, smoothing out any wrinkles or bubbles.
- Wrap the Edges: Wrap the edges of the fabric around the backing board and secure them with staples or tacks. Pull the fabric taut as you go to create a smooth, wrinkle-free finish.
- Trim the Excess Fabric: Trim any excess fabric around the edges of the panel with a razor blade or utility knife.
Adding Decorative Details and Trim to Classic Car Door Panels
This is where you add the finishing touches that make your door panels stand out.
- Chrome Trim: Clean and polish any chrome trim pieces before attaching them to the door panel. Use chrome polish and a soft cloth to remove any dirt, rust, or oxidation.
- Emblems and Badges: Reattach any emblems or badges to the door panel using adhesive or screws. Be sure to align them correctly and tighten the screws securely.
- Stitching and Piping: Add decorative stitching or piping to the door panel for a custom look. You can use a sewing machine or hand-sewing techniques.
Reinstalling the Restored Door Panels on your Classic Car
Almost there! Time to put it all back together.
- Attach New Clips and Fasteners: Attach new clips and fasteners to the back of the door panel. Be sure to use the correct type of clips and fasteners for your car.
- Align the Door Panel: Align the door panel with the door frame and carefully press it into place. Make sure all the clips and fasteners are properly engaged.
- Install Screws and Fasteners: Install any screws or fasteners that hold the door panel to the door frame. Tighten the screws securely, but don't overtighten them.
- Test the Door Panel: Open and close the door to make sure the door panel is properly installed and doesn't interfere with the door's operation.
Maintaining and Cleaning Classic Car Door Panels
Keep those panels looking sharp for years to come!
- Regular Cleaning: Clean your door panels regularly with a mild detergent and water. Use a soft cloth or sponge to avoid scratching the upholstery.
- UV Protection: Protect your door panels from UV damage by parking your car in the shade or using a car cover. You can also apply a UV protectant to the upholstery.
- Conditioning: Condition leather upholstery regularly to keep it soft and supple. Use a leather conditioner specifically designed for automotive use.
- Spot Cleaning: Clean up spills and stains immediately to prevent them from setting. Use a spot cleaner specifically designed for the type of upholstery in your car.
:max_bytes(150000):strip_icc()/277019-baked-pork-chops-with-cream-of-mushroom-soup-DDMFS-beauty-4x3-BG-7505-5762b731cf30447d9cbbbbbf387beafa.jpg)