Restoring Chrome Trim: A Comprehensive Guide
Explore how to restore chrome trim on your classic car to its original shine. Discover effective cleaning and polishing techniques. Enhance the overall appearance of your vehicle.
Understanding Classic Car Chrome Trim Types and Materials
Alright, let's dive into the shiny world of chrome trim on classic cars. Before you even think about polishing, it's crucial to know what you're dealing with. Classic car chrome isn't just one thing; it comes in different forms, each requiring a slightly different approach. We're talking about:
- Triple Chrome Plating: This is the gold standard. It involves layers of copper, nickel, and then chrome. Super durable and gives that deep, reflective shine.
- Single Chrome Plating: Less common, usually found on less expensive cars. It's more prone to rust and damage.
- Stainless Steel Trim: Technically not chrome, but often mistaken for it. Stainless steel is more durable but doesn't have the same mirror-like finish. You'll often find this on window trim or bumpers.
- Anodized Aluminum: Another imposter! Anodized aluminum is often used on grilles and other decorative pieces. It's lightweight and corrosion-resistant, but not as shiny as chrome.
Knowing the material is half the battle. You wouldn't use the same cleaning product on triple chrome as you would on anodized aluminum, right?
Assessing the Damage Chrome Trim Inspection and Problem Areas
Okay, grab your magnifying glass (not really, but be thorough!). Take a good look at your chrome trim. What kind of damage are we talking about? Common issues include:
- Rust: The big bad wolf of chrome. It can range from surface rust to deep pitting.
- Pitting: Tiny holes in the chrome caused by corrosion.
- Scratches: From minor surface scratches to deeper gouges.
- Water Spots: Annoying but usually easy to remove.
- Dullness: The chrome has lost its shine and looks lackluster.
- Blistering: Chrome plating separating from the base metal. This is a sign of serious corrosion.
Make a note of the areas that need the most attention. This will help you prioritize your efforts and choose the right products and techniques.
Essential Tools and Supplies for Chrome Trim Restoration
Time to gather your arsenal! You don't need a professional setup, but having the right tools will make the job much easier. Here's a list of essentials:
- Cleaning Supplies:
- Mild Soap and Water: For initial cleaning.
- Chrome Cleaner: Specifically designed for chrome surfaces. We'll recommend some below.
- Degreaser: To remove grease and grime.
- Rust Remover: If you're dealing with rust.
- Polishing Supplies:
- Chrome Polish: For restoring shine.
- Microfiber Cloths: Essential for cleaning and polishing without scratching.
- Polishing Pads: For use with a power polisher (optional but recommended).
- Tools:
- Soft Brushes: For cleaning tight areas.
- Detailing Brushes: For getting into small crevices.
- Safety Glasses: Protect your eyes!
- Gloves: Protect your hands!
- Power Polisher: Optional, but it will save you a lot of elbow grease.
- Rust Removal Tools: Wire brushes, sandpaper (various grits), rotary tool with polishing attachments.
Cleaning Chrome Trim Removing Dirt Grime and Water Spots
Alright, let's get down and dirty (or rather, clean!). Start by washing the chrome trim with mild soap and water. This will remove loose dirt and grime. Rinse thoroughly and dry with a microfiber cloth.
Next, apply a chrome cleaner according to the manufacturer's instructions. Use a soft brush to scrub away any stubborn dirt or water spots. Rinse again and dry.
If you're dealing with grease or grime, use a degreaser. Apply it to a microfiber cloth and wipe the chrome trim. Rinse and dry.
Rust Removal Techniques for Chrome Trim Effective Methods
Rust is the enemy! But don't despair, there are ways to fight back. The best method depends on the severity of the rust:
- Surface Rust:
- Chrome Polish: Sometimes, a good chrome polish can remove light surface rust.
- Aluminum Foil and Coke: This is a surprisingly effective trick. Crumple up a piece of aluminum foil and dip it in Coke. Gently rub the rusty area. The phosphoric acid in the Coke reacts with the rust.
- CLR (Calcium, Lime, and Rust Remover): Apply CLR to the affected area, let it sit for a few minutes, and then scrub with a soft brush. Rinse thoroughly.
- Moderate Rust:
- Rust Remover Products: There are many rust remover products on the market. Follow the manufacturer's instructions carefully.
- Wire Brush: Use a wire brush to scrub away the rust. Be careful not to scratch the chrome.
- Severe Rust:
- Sandpaper: Start with a coarse grit sandpaper (e.g., 400 grit) and gradually move to finer grits (e.g., 600, 800, 1000 grit). Wet sanding is recommended to minimize scratching.
- Rotary Tool: A rotary tool with a polishing attachment can be used to remove rust and polish the chrome. Be very careful not to overheat the chrome.
Important Note: When removing rust, always work in a well-ventilated area and wear safety glasses and gloves.
Polishing Chrome Trim Restoring the Shine and Luster
Now for the fun part! Polishing is what brings back that beautiful shine. Apply a chrome polish to a microfiber cloth or polishing pad. If you're using a power polisher, start with a low speed and gradually increase it. Work in small sections, using overlapping motions.
Apply moderate pressure and buff the chrome until the polish starts to turn black. This is the oxidized layer being removed. Wipe away the residue with a clean microfiber cloth.
Repeat this process until you achieve the desired shine. You may need to apply multiple coats of polish.
Recommended Chrome Polishes and Cleaners Product Comparisons
So, what products should you actually use? Here are a few recommendations based on different needs and budgets:
- For Light Cleaning and Maintenance:
- Meguiar's All Chrome Wheel Cleaner: Great for removing brake dust and light grime. Easy to use and readily available. Around $10.
- For Moderate Cleaning and Polishing:
- Mothers Chrome Polish: A classic for a reason. It's effective at removing light rust and restoring shine. Around $15.
- Griot's Garage Chrome Polish: A premium option that delivers excellent results. It's more expensive but worth it for serious enthusiasts. Around $25.
- For Heavy-Duty Rust Removal:
- Evapo-Rust: A rust remover that's safe for use on chrome. It dissolves rust without harming the underlying metal. Around $20.
- POR-15 Metal Prep: Etches the metal to prep for paint, also good for removing rust. Around $25.
Product Comparison Table:
| Product | Use | Price | Pros | Cons |
|---|---|---|---|---|
| Meguiar's All Chrome Wheel Cleaner | Light Cleaning | $10 | Easy to use, readily available | Not effective for heavy rust |
| Mothers Chrome Polish | Moderate Cleaning & Polishing | $15 | Effective, good value | May require some elbow grease |
| Griot's Garage Chrome Polish | Premium Polishing | $25 | Excellent results, high quality | More expensive |
| Evapo-Rust | Rust Removal | $20 | Safe for chrome, dissolves rust | May require multiple applications |
| POR-15 Metal Prep | Rust Removal & Metal Prep | $25 | Preps metal for paint, removes rust | Requires careful application |
Protecting Chrome Trim Preventing Future Damage and Corrosion
You've restored your chrome trim to its former glory, now it's time to protect it! Here are some tips to prevent future damage and corrosion:
- Regular Cleaning: Wash your car regularly to remove dirt, grime, and road salt.
- Waxing: Apply a coat of wax to the chrome trim to protect it from the elements.
- Chrome Sealant: Use a chrome sealant for long-lasting protection.
- Avoid Abrasive Cleaners: Don't use abrasive cleaners or scrub brushes, as they can scratch the chrome.
- Store Your Car Properly: If you're storing your car for an extended period, cover it to protect it from the elements.
Repairing Damaged Chrome Trim Professional Options
Sometimes, the damage is too severe for DIY repair. In these cases, it's best to seek professional help. Options include:
- Chrome Plating: This involves removing the old chrome and applying a new layer. It's the most expensive option, but it will restore the chrome to its original condition.
- Chrome Repair Services: Some companies specialize in repairing damaged chrome trim. They can repair scratches, dents, and other imperfections.
- Replacement: If the chrome trim is beyond repair, you may need to replace it. This can be a costly option, but it's sometimes the only way to restore the appearance of your car.
DIY Chrome Trim Repair Filling Pits and Scratches
If you are feeling brave, you can try DIY repair on small pits and scratches. This is not for the faint of heart, and results will vary. You'll need:
- Body Filler: A two-part epoxy filler designed for automotive use.
- Fine Sandpaper: Various grits, from 400 to 2000.
- Chrome Paint: A high-quality chrome-look paint.
- Clear Coat: To protect the paint.
Process:
- Clean the area thoroughly.
- Sand the area around the pit or scratch to create a smooth surface.
- Mix the body filler according to the manufacturer's instructions.
- Apply the filler to the pit or scratch, filling it completely.
- Let the filler dry completely.
- Sand the filler smooth, starting with a coarser grit sandpaper and gradually moving to finer grits.
- Clean the area again.
- Apply several thin coats of chrome paint, allowing each coat to dry completely.
- Apply several thin coats of clear coat, allowing each coat to dry completely.
- Buff the area with a polishing cloth.
This method is not a perfect solution, and the repaired area may not look exactly like the original chrome. However, it can be a good option for small repairs.
Special Considerations for Different Types of Chrome Trim
Remember those different types of chrome we talked about earlier? Here's a quick recap of special considerations for each:
- Triple Chrome Plating: Relatively durable, but still susceptible to rust and scratches. Use high-quality chrome polishes and sealants.
- Single Chrome Plating: More fragile than triple chrome. Be extra careful when cleaning and polishing. Avoid harsh chemicals.
- Stainless Steel Trim: More durable than chrome, but can still be scratched. Use stainless steel cleaners and polishes.
- Anodized Aluminum: Avoid harsh chemicals and abrasive cleaners. Use a mild soap and water or a cleaner specifically designed for anodized aluminum.
Troubleshooting Common Chrome Restoration Problems
Things not going as planned? Here are some common problems and how to fix them:
- Streaking: You're using too much polish or not wiping it off thoroughly enough. Use less polish and use a clean microfiber cloth to wipe off the residue.
- Swirl Marks: You're using a power polisher at too high a speed or using a dirty polishing pad. Reduce the speed of the polisher and use a clean polishing pad.
- Scratches: You're using an abrasive cleaner or scrub brush. Use a mild soap and water or a chrome cleaner.
- Rust Returning Quickly: You're not properly protecting the chrome. Apply a chrome sealant after polishing.
Maintaining Your Restored Chrome Trim Long-Term Care
The key to keeping your chrome looking great is regular maintenance. Wash your car regularly, wax the chrome trim, and apply a chrome sealant. Inspect the chrome regularly for signs of rust or damage and address any issues promptly.
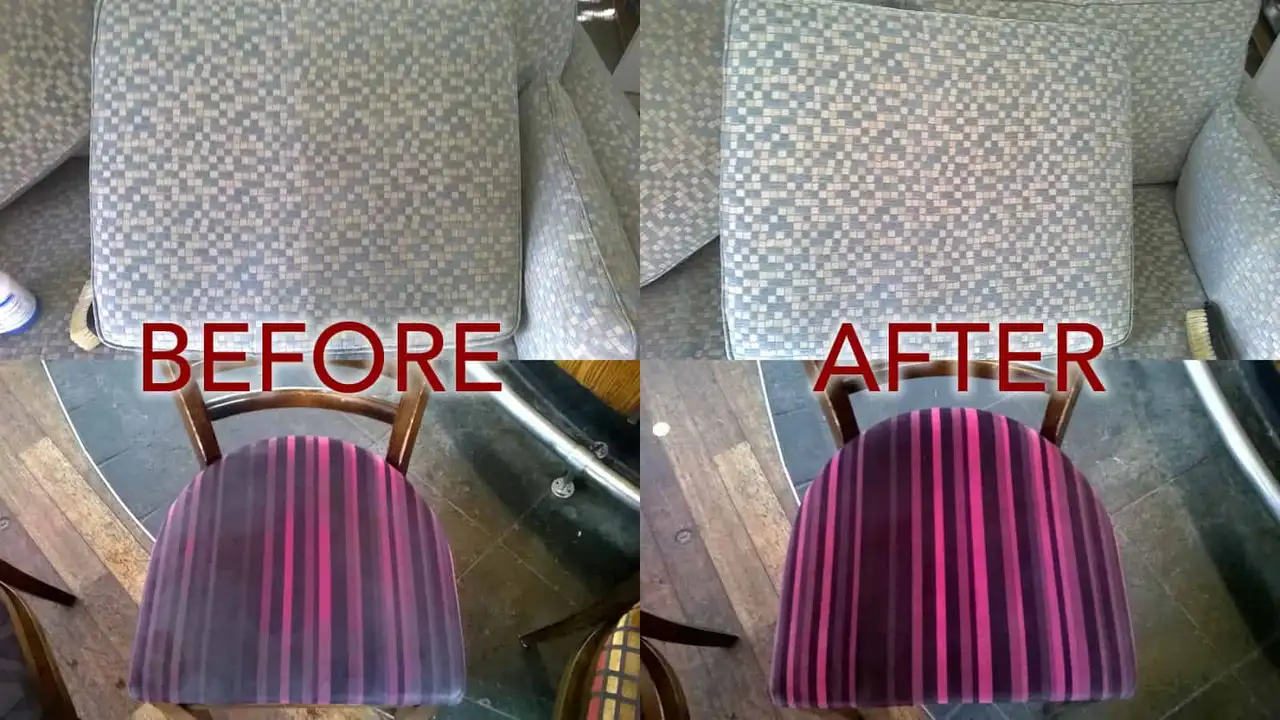
Showcasing Before and After Examples of Chrome Restoration
(Insert before and after photos here. Aim for high-quality images that clearly show the difference between the damaged chrome and the restored chrome.)
Cost Analysis of DIY vs Professional Chrome Restoration
Let's break down the cost of doing it yourself versus hiring a professional:
DIY:
- Cleaning Supplies: $20 - $50
- Polishing Supplies: $30 - $70
- Rust Removal Tools: $10 - $50 (depending on severity)
- Power Polisher (optional): $50 - $200
- DIY Repair Supplies (if needed): $20 - $50
Total DIY Cost: $130 - $420 (plus your time!)
Professional:
- Cleaning and Polishing: $50 - $150 per piece
- Rust Removal: $100 - $300 per piece (depending on severity)
- Chrome Repair: $200 - $500 per piece
- Chrome Plating: $500 - $1500 per piece
Total Professional Cost: Varies widely depending on the extent of the damage and the number of pieces being restored. Could easily be $500 to several thousand dollars.
The decision of whether to DIY or hire a professional depends on your budget, your skill level, and the severity of the damage. If you're dealing with light surface rust and scratches, DIY is a great option. If you're dealing with severe rust or damage, it's best to seek professional help.
:max_bytes(150000):strip_icc()/277019-baked-pork-chops-with-cream-of-mushroom-soup-DDMFS-beauty-4x3-BG-7505-5762b731cf30447d9cbbbbbf387beafa.jpg)