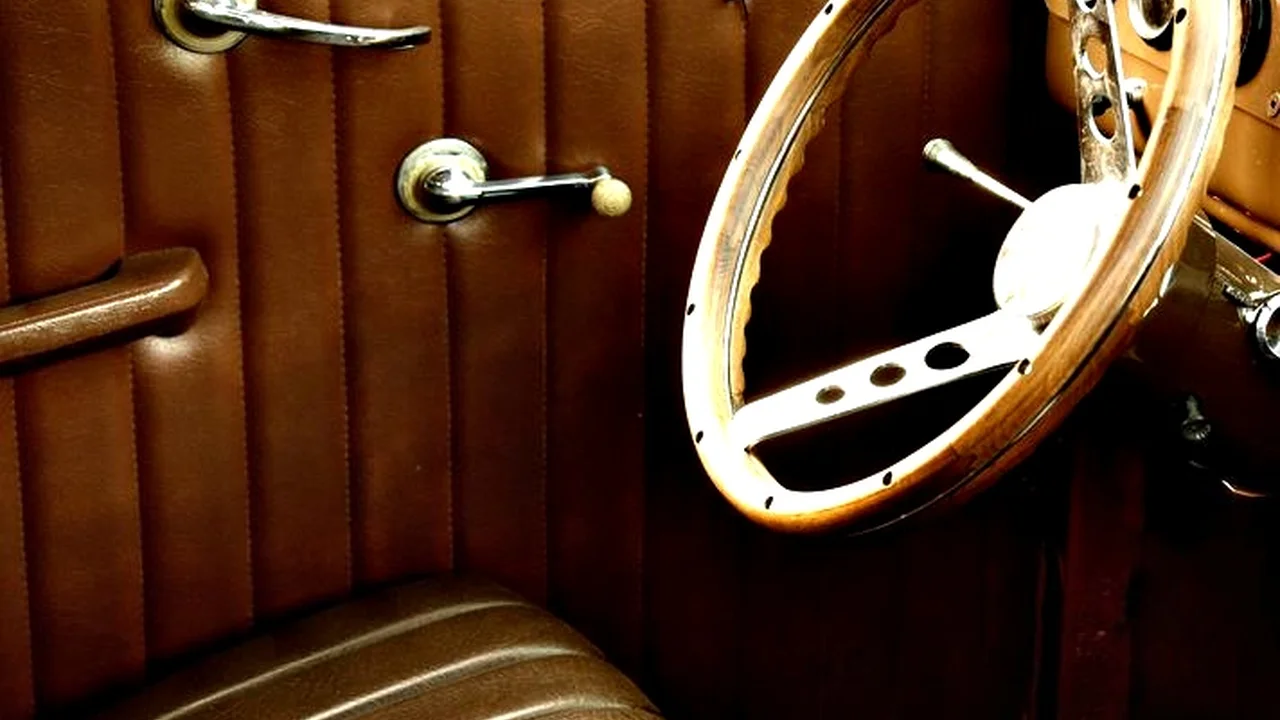
7 Best Upholstery Fabrics for Classic Car Interiors
Learn how to create accurate patterns and sew durable seams Achieve a professional-quality finish.

Understanding the Basics of Classic Car Upholstery Sewing
So, you're diving into the world of classic car upholstery? Awesome! It's a rewarding experience, bringing back the glory of those vintage interiors. But let's be real, sewing upholstery isn't like stitching up a simple hem. It requires specific skills, the right tools, and a whole lot of patience. We’re talking about working with thicker materials, creating precise patterns, and ensuring everything fits perfectly. This section covers the foundational knowledge you need to get started. We'll explore the types of fabrics commonly used, the necessary tools, and the basic stitches that will form the backbone of your upholstery projects. Whether you’re a complete beginner or have some sewing experience, we’ll break down the process into manageable steps.
Essential Tools and Equipment for Classic Car Upholstery Sewing Projects
Before you even thread a needle, make sure you have the right tools. Trust me, having the right equipment can make or break your project. Here's a breakdown of the essentials:
- Sewing Machine: A heavy-duty sewing machine is a must. Look for one that can handle thick fabrics like vinyl, leather, and canvas. Industrial machines are ideal, but a good domestic machine with a strong motor can also work. Brands like Singer, Brother, and Juki are popular choices.
- Needles: You’ll need a variety of needles designed for upholstery fabrics. Leather needles have a chisel point to easily penetrate leather, while universal needles work well for vinyl and other synthetic materials. Sizes 16 (100) to 18 (110) are good starting points.
- Thread: Upholstery thread is thicker and stronger than regular sewing thread. Look for nylon or polyester thread in a color that matches your fabric. Brands like Coats & Clark and Gütermann are reliable.
- Scissors and Rotary Cutter: Sharp scissors are essential for cutting fabric accurately. A rotary cutter and cutting mat can also be helpful for cutting straight lines and curves.
- Measuring Tools: A measuring tape, ruler, and T-square are necessary for creating accurate patterns. A flexible curve ruler can also be useful for tracing curved lines.
- Marking Tools: Tailor’s chalk, fabric markers, and tracing wheels are used to transfer patterns onto fabric. Choose marking tools that are easily removable and won’t stain your fabric.
- Staple Gun and Staples: A staple gun is used to attach fabric to the frame of the seat or panel. Choose a heavy-duty staple gun with adjustable power settings. Arrow and Stanley are trusted brands.
- Pliers and Tack Remover: These tools are used to remove old staples and tacks from the frame. A tack remover tool can make the job easier and prevent damage to the frame.
- Hog Ring Pliers and Hog Rings: Hog ring pliers and hog rings are used to attach fabric to the seat springs. These pliers crimp the hog rings, creating a secure connection.
Choosing the Right Upholstery Fabric for Your Classic Car Restoration
Fabric selection is key. You want something that looks authentic, feels comfortable, and can withstand the test of time. Here’s a rundown of popular choices:
- Vinyl: A classic choice for its durability and easy maintenance. It's water-resistant and comes in a wide range of colors and textures. Look for marine-grade vinyl for added UV protection.
- Leather: Luxurious and durable, leather adds a touch of elegance to any classic car interior. It's available in various grades and finishes. Consider using automotive-grade leather for its enhanced durability and resistance to wear.
- Cloth: Offers a comfortable and breathable option. Choose a tightly woven fabric that can withstand abrasion and fading. Tweed, broadcloth, and velour are popular choices.
- Tweed: A durable and stylish fabric with a textured appearance. It's often used in classic car interiors for its vintage look and feel.
- Broadcloth: A smooth and tightly woven fabric that's easy to clean and maintain. It's available in a variety of colors and patterns.
- Velour: A plush and luxurious fabric with a soft, velvety texture. It adds a touch of elegance to any classic car interior.
When choosing fabric, consider the original materials used in your car. Authenticity is important for many classic car enthusiasts.
Creating Accurate Patterns for Classic Car Seats and Panels
Accurate patterns are the foundation of a successful upholstery project. Here's how to create them:
- Remove the Old Upholstery: Carefully remove the old upholstery from the seat or panel, taking note of how it was attached. Save the old upholstery as a pattern.
- Trace the Old Upholstery: Lay the old upholstery flat on a large piece of paper or cardboard. Trace the outline of each piece, adding seam allowances.
- Create a Template: Transfer the pattern to a more durable material, such as cardboard or plastic. This will serve as your template for cutting the new fabric.
- Test Fit the Pattern: Before cutting the fabric, test fit the pattern on the seat or panel. Make any necessary adjustments to ensure a perfect fit.
Basic Sewing Stitches for Classic Car Upholstery Projects
Mastering a few basic sewing stitches is essential for upholstery work. Here are some of the most common stitches:
- Straight Stitch: The most basic stitch, used for joining fabric pieces together. Adjust the stitch length according to the thickness of the fabric.
- Zigzag Stitch: Used for finishing raw edges and preventing fraying. It can also be used for decorative purposes.
- Topstitch: A decorative stitch that's used to add a professional finish to seams and edges. It's typically sewn close to the edge of the fabric.
- Blind Stitch: Used for creating invisible hems. It's sewn by hand, catching only a few threads of the fabric.
- Welt Cord Stitch: Welt cord is a decorative trim that's sewn into seams to add a finished look. Use a zipper foot to sew close to the welt cord.
Step-by-Step Guide to Sewing a Basic Seat Cover for Classic Cars
Let's walk through a simple seat cover project to put these techniques into practice:
- Prepare the Fabric: Cut the fabric according to your pattern, adding seam allowances.
- Sew the Seams: Sew the fabric pieces together using a straight stitch, following the pattern instructions.
- Finish the Edges: Finish the raw edges of the seams using a zigzag stitch or serger.
- Install Welt Cord (Optional): Sew welt cord into the seams for a decorative finish.
- Attach the Cover to the Frame: Stretch the cover over the seat frame and staple it in place, starting from the center and working your way outwards.
- Trim Excess Fabric: Trim any excess fabric and secure the edges with staples or tacks.
Advanced Sewing Techniques for Professional Classic Car Upholstery
Ready to take your skills to the next level? Here are some advanced techniques:
- Pleating: Creating uniform folds in the fabric to add texture and dimension.
- Tufting: Securing fabric to the seat frame with buttons or ties to create a diamond pattern.
- Channeling: Sewing parallel lines of stitching to create channels in the fabric.
- French Seams: A durable and clean-looking seam that encases the raw edges of the fabric.
Product Recommendations: Sewing Machines for Classic Car Upholstery
Choosing the right sewing machine is crucial for tackling tough upholstery projects. Here are a few recommendations:
- Juki DDL-8700: An industrial-grade straight stitch sewing machine known for its reliability and power. It can handle thick fabrics like leather and vinyl with ease. Expect to pay around $1,200-$1,500. Ideal for professional upholstery shops or serious hobbyists.
- Singer Heavy Duty 4452: A popular choice for home use, this machine offers a good balance of power and affordability. It can sew through multiple layers of fabric and features a variety of stitch options. Price range: $200-$300. Great for beginners and intermediate sewers.
- Brother ST371HD: Another solid option for heavy-duty sewing, the Brother ST371HD is known for its ease of use and durable construction. It comes with a range of accessories and is suitable for various upholstery projects. Cost: approximately $250-$350. A versatile machine for home upholstery projects.
Comparing Upholstery Fabrics: Vinyl vs. Leather
Choosing between vinyl and leather can be tough. Here’s a comparison to help you decide:
- Vinyl:
- Pros: Durable, water-resistant, easy to clean, affordable.
- Cons: Can feel sticky in hot weather, less luxurious than leather.
- Price: $20-$40 per yard.
- Leather:
- Pros: Luxurious, durable, breathable, develops a patina over time.
- Cons: Expensive, requires more maintenance, can be damaged by sunlight.
- Price: $50-$150 per square foot.
Tips for Maintaining Your Classic Car Upholstery
Once your upholstery is complete, proper maintenance is essential to keep it looking its best:
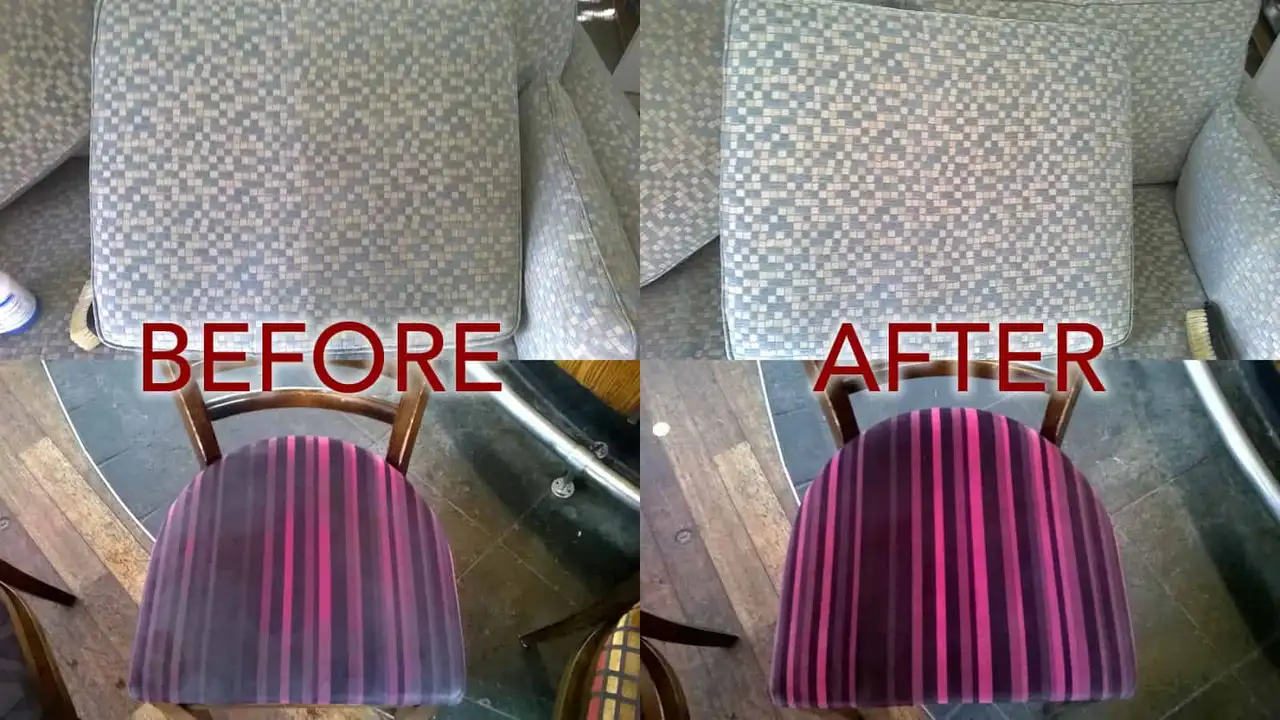
- Regular Cleaning: Vacuum the upholstery regularly to remove dirt and debris. Use a mild soap and water solution to clean stains.
- Conditioning: Condition leather upholstery regularly to prevent cracking and drying. Use a leather conditioner specifically designed for automotive use.
- UV Protection: Park your car in the shade or use a car cover to protect the upholstery from sunlight. UV rays can cause fading and damage.
- Professional Cleaning: Consider having your upholstery professionally cleaned every few years to remove deep-seated dirt and stains.
Common Mistakes to Avoid in Classic Car Upholstery Sewing
Learning from others' mistakes can save you time and frustration. Here are some common pitfalls to avoid:
- Using the Wrong Fabric: Choosing a fabric that's not durable or suitable for upholstery.
- Inaccurate Patterns: Creating patterns that are not accurate or properly sized.
- Poor Stitching: Using the wrong stitch type or tension, resulting in weak seams.
- Improper Stapling: Stapling the fabric too loosely or too tightly, causing wrinkles or tears.
- Neglecting Maintenance: Failing to clean and condition the upholstery regularly, leading to premature wear and tear.
:max_bytes(150000):strip_icc()/277019-baked-pork-chops-with-cream-of-mushroom-soup-DDMFS-beauty-4x3-BG-7505-5762b731cf30447d9cbbbbbf387beafa.jpg)


