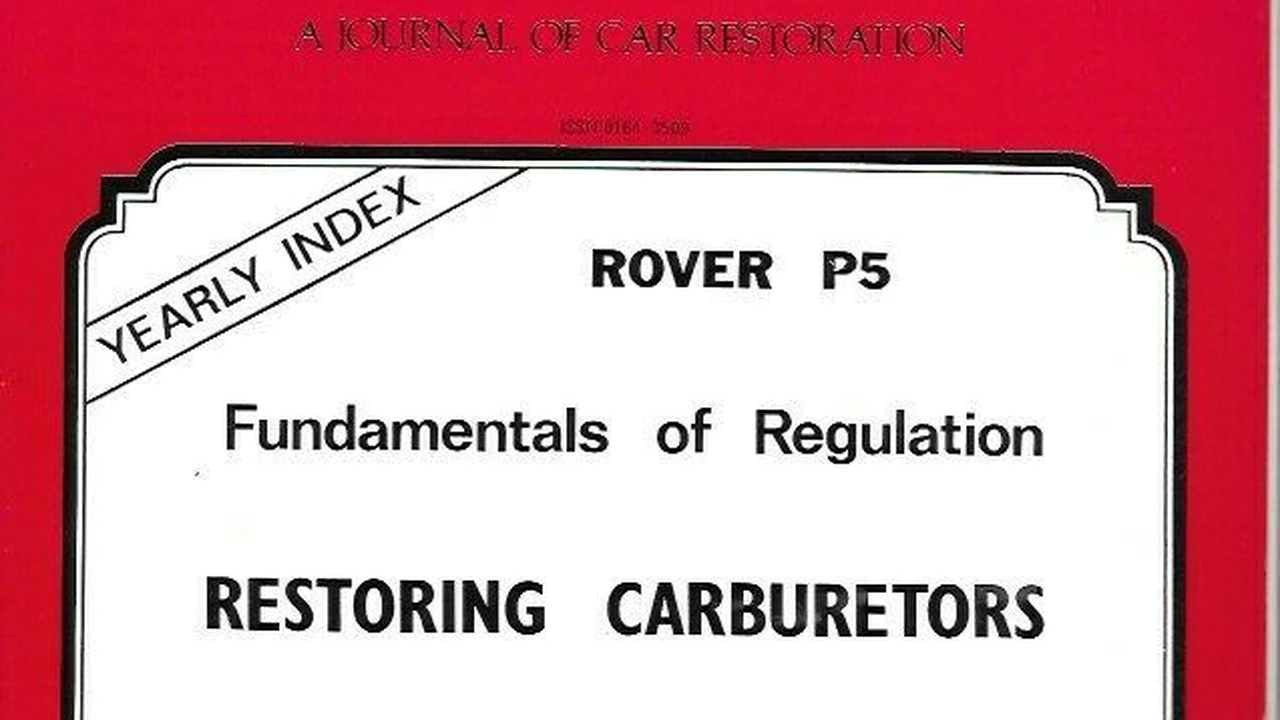
Restoring Carburetors: A Step-by-Step Tutorial

Learn how to restore carburetors on classic cars with a step-by-step tutorial. Understand the function of each component and how to properly clean and rebuild them. Improve engine performance and fuel efficiency.
Understanding Carburetors Classic Car Fuel Delivery Systems
Okay, let's dive into the world of carburetors! For those unfamiliar, a carburetor is basically the heart of the fuel delivery system in many classic cars. It's responsible for mixing air and fuel in the right proportions to create a combustible mixture that the engine can burn. Think of it as the chef in the engine's kitchen, ensuring the ingredients are perfectly balanced for a delicious (and powerful) combustion "meal." Before fuel injection became commonplace, carburetors were *the* way to get fuel into an engine. Different carburetors were used for different engine sizes, fuel types, and driving requirements. Knowing how they work is crucial for classic car owners.
Why bother restoring a carburetor? Well, over time, carburetors can get gummed up with old fuel deposits, corroded, or just plain worn out. This can lead to a whole host of problems, including poor engine performance, rough idling, stalling, and reduced fuel economy. A properly restored carburetor will breathe new life into your classic car, making it run smoother, more efficiently, and more reliably.
Essential Tools and Materials for Carburetor Rebuilding
Before you even think about touching that carburetor, you'll need to gather the right tools and materials. Trying to rebuild a carburetor with the wrong tools is like trying to build a house with a butter knife – frustrating and ultimately ineffective. Here's a list of essentials:
- Carburetor Rebuild Kit: This kit will typically include all the gaskets, seals, and small parts you'll need to replace. Make sure you get the right kit for your specific carburetor model!
- Carburetor Cleaner: This stuff is specially formulated to dissolve fuel deposits and grime. Don't skimp on this; a good cleaner is essential.
- Parts Cleaner: For a more thorough cleaning of individual components.
- Small Brushes: A variety of small brushes, including brass brushes, will help you clean out tiny passages. Old toothbrushes work in a pinch, but dedicated brushes are better.
- Screwdrivers: You'll need a variety of screwdrivers, both flathead and Phillips head, in different sizes.
- Pliers: A good set of pliers is essential for removing and installing parts.
- Wrenches: You'll need a set of wrenches to remove the carburetor from the engine and disassemble it.
- Compressed Air: Compressed air is essential for blowing out passages and drying parts.
- Protective Gear: Wear gloves and eye protection to protect yourself from chemicals and debris.
- Clean Workspace: A clean and well-lit workspace is essential for keeping track of parts and preventing contamination.
- Camera or Smartphone: Take pictures as you disassemble the carburetor. This will be invaluable when you reassemble it.
Step-by-Step Carburetor Disassembly and Cleaning Guide
Okay, now for the fun part! Disassembly is key, but remember to take your time and be organized. Here's a step-by-step guide:
- Remove the Carburetor: Disconnect the fuel line, vacuum lines, and electrical connections. Loosen the carburetor mounting bolts and carefully remove the carburetor from the intake manifold.
- External Cleaning: Before you start disassembling the carburetor, give it a good external cleaning with carburetor cleaner. This will remove loose dirt and grime and make it easier to work on.
- Disassembly: Now, carefully disassemble the carburetor, following the instructions in your rebuild kit. Take pictures as you go, and keep track of where each part goes. Pay close attention to the float assembly, jets, and needles.
- Cleaning: Once the carburetor is disassembled, soak all the metal parts in carburetor cleaner for at least 30 minutes. Use small brushes to scrub away any remaining deposits. Pay special attention to the jets and passages.
- Rinsing: After soaking and scrubbing, rinse all the parts thoroughly with clean water.
- Drying: Use compressed air to dry all the parts. Make sure to blow out all the passages to remove any remaining water or debris.
- Inspection: Inspect all the parts for wear or damage. Replace any parts that are worn or damaged. This is where your rebuild kit comes in handy.
Carburetor Reassembly Tips and Tricks for Peak Performance
Reassembly is basically the reverse of disassembly, but here are a few tips to keep in mind:
- Use New Gaskets and Seals: Always use new gaskets and seals from your rebuild kit. Old gaskets and seals are likely to leak.
- Lubricate Moving Parts: Lubricate all moving parts with a light oil. This will help them move freely and prevent wear.
- Follow the Instructions: Follow the instructions in your rebuild kit carefully. The instructions will tell you how to properly assemble the carburetor and adjust the float level.
- Double-Check Your Work: Before you install the carburetor on the engine, double-check your work to make sure everything is properly assembled.
Adjusting the Carburetor for Optimal Fuel Mixture
Once the carburetor is reassembled and installed on the engine, you'll need to adjust it for optimal fuel mixture. This involves adjusting the idle speed, idle mixture, and choke. The exact procedure will vary depending on the carburetor model, so consult your car's service manual or a reliable online resource.
Recommended Carburetor Cleaners and Rebuild Kits Product Comparison
Choosing the right products is critical for a successful carburetor restoration. Here are a few recommendations and comparisons:
Carburetor Cleaners:
- Berryman Chem-Dip Carburetor and Parts Cleaner: This is a very aggressive cleaner that's great for heavily soiled carburetors. It comes in a gallon can with a basket for soaking parts. Price: Around $30. *Use Case:* Ideal for carburetors that have been sitting for a long time and are covered in thick deposits. *Comparison:* Stronger than aerosol cleaners, but requires more time and effort.
- CRC Carb and Choke Cleaner: A readily available aerosol cleaner that's great for general cleaning and maintenance. *Price: Around $10.* *Use Case:* Good for quick cleanings and removing light deposits. *Comparison:* Less aggressive than Berryman Chem-Dip, but easier to use.
- Sea Foam Spray: While often used as a fuel additive, Sea Foam Spray can also be used as a decent carburetor cleaner. It's gentler than some of the other options, making it suitable for more delicate components. *Price: Around $12*. *Use Case:* Cleaning carburetors that are in relatively good condition and require a mild cleaning solution. *Comparison:* Not as effective as dedicated carburetor cleaners for heavy buildup, but safer for sensitive parts.
Carburetor Rebuild Kits:
- Walker Products Carburetor Repair Kit: Walker Products offers a wide range of rebuild kits for various classic car carburetors. Their kits typically include high-quality gaskets and seals. *Price: Varies depending on the model, typically between $20 and $50.* *Use Case:* Reliable for standard rebuilds of common carburetors. *Comparison:* A good all-around choice for most classic car owners.
- Hygrade Carburetor Kit: Hygrade is another reputable brand that offers comprehensive rebuild kits. Their kits often include detailed instructions and diagrams. *Price: Similar to Walker Products, varying by model.* *Use Case:* Suitable for those who prefer detailed guidance during the rebuild process. *Comparison:* Offers comparable quality to Walker Products with a focus on user-friendly instructions.
- Echlin Carburetor Kit: Available at NAPA Auto Parts, Echlin kits are a solid choice for many classic car carburetors. These kits are known for their quality components and reliable performance. *Price: Ranges from $25 to $60, depending on the carburetor model.* *Use Case:* Ideal for classic car enthusiasts who prioritize quality and durability. *Comparison:* Slightly more expensive than some other kits, but worth the investment for long-lasting performance.
Troubleshooting Common Carburetor Problems After Restoration
Even after a careful restoration, you might encounter some issues. Here are a few common problems and their potential solutions:
- Rough Idling: This could be caused by a lean or rich fuel mixture. Adjust the idle mixture screws to fine-tune the fuel mixture.
- Stalling: This could be caused by a clogged jet or a faulty float. Clean the jets and check the float level.
- Poor Acceleration: This could be caused by a clogged accelerator pump or a vacuum leak. Inspect the accelerator pump and check for vacuum leaks.
- Fuel Leaks: This could be caused by a damaged gasket or seal. Replace any damaged gaskets or seals.
Long-Term Maintenance Tips for Classic Car Carburetors
To keep your restored carburetor running smoothly for years to come, follow these maintenance tips:
- Use Fuel Stabilizer: Add fuel stabilizer to your fuel tank when storing your car for extended periods. This will prevent fuel deposits from forming in the carburetor.
- Regularly Inspect the Carburetor: Regularly inspect the carburetor for leaks or damage. Address any issues promptly.
- Clean the Air Filter: A dirty air filter can restrict airflow to the carburetor, affecting performance. Clean or replace the air filter regularly.
- Consider Fuel Additives: Use fuel additives to help keep the carburetor clean and prevent deposits from forming.
With a little patience and the right tools, you can successfully restore your classic car's carburetor and enjoy improved engine performance and reliability. Good luck, and happy wrenching!
:max_bytes(150000):strip_icc()/277019-baked-pork-chops-with-cream-of-mushroom-soup-DDMFS-beauty-4x3-BG-7505-5762b731cf30447d9cbbbbbf387beafa.jpg)


