Dashboard Restoration: Repairing Cracks and Fading
Learn how to restore your classic car's dashboard by repairing cracks and fading. Learn about different repair techniques and materials. Improve the appearance of your interior.
Why Dashboard Restoration Matters for Your Classic Car
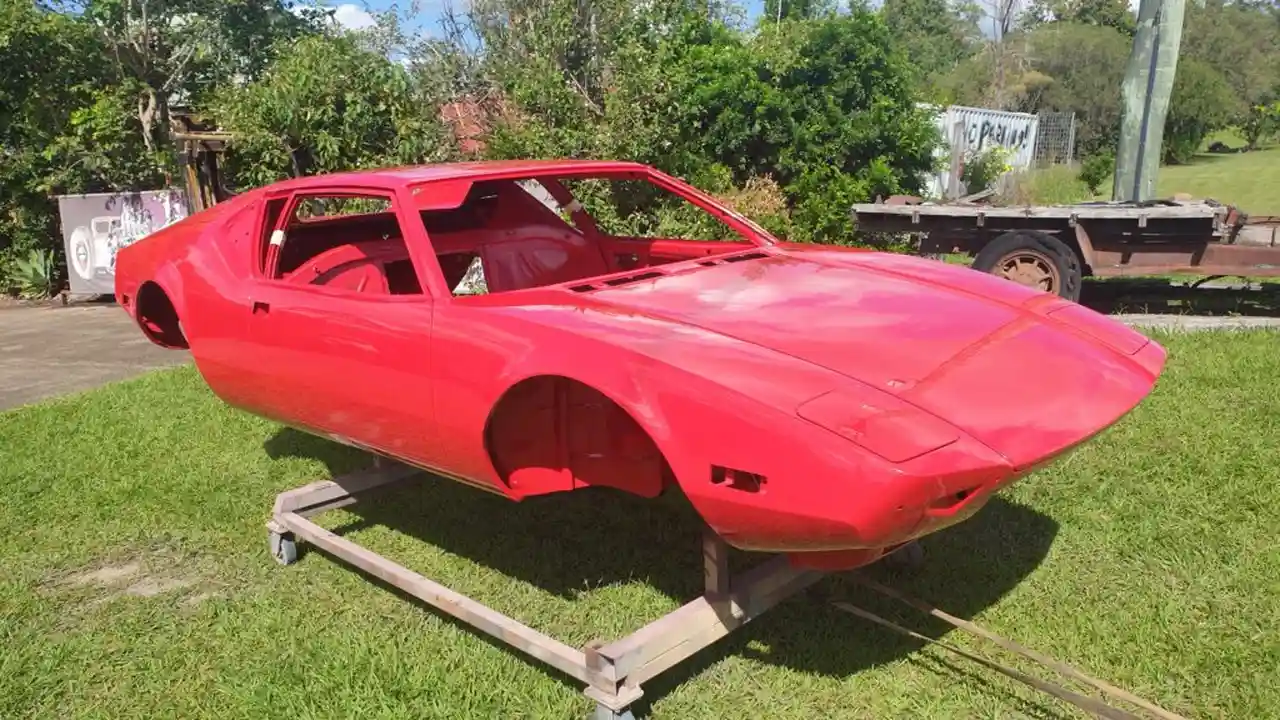
Alright, let's talk dashboards. In a classic car, the dashboard isn't just a place to mount gauges; it's a focal point, a piece of history staring right back at you. A cracked, faded, or damaged dashboard can seriously detract from the overall appeal and value of your ride. Think about it – you've meticulously restored the engine, the bodywork gleams, and then BAM! You're confronted with a dashboard that looks like it's been through a war. That's why dashboard restoration is a critical step in any serious classic car project. We're not just talking aesthetics here; we're talking about preserving the soul of your vintage vehicle. A well-restored dashboard not only enhances the interior's appearance but also contributes to the car's overall value and authenticity.
Understanding Dashboard Materials and Their Vulnerabilities
Before diving into the restoration process, it's essential to understand what your dashboard is made of. Classic car dashboards were typically constructed from a variety of materials, each with its own set of vulnerabilities:
- Steel: Found in older models, steel dashboards are incredibly durable but prone to rust and corrosion, especially in humid environments.
- Bakelite/Early Plastics: These early plastics can become brittle and crack over time, especially with exposure to UV rays and temperature fluctuations. They also tend to discolor.
- Vinyl/Padded Dashboards: Common in the 60s and 70s, these dashboards are susceptible to cracking, peeling, and fading due to sun exposure and aging. The padding underneath can also deteriorate, leading to uneven surfaces.
- Wood Veneer: Found in luxury models, wood veneer dashboards can crack, warp, and fade due to moisture and sunlight. The underlying wood can also rot if exposed to water.
Knowing the material of your dashboard is crucial because it dictates the appropriate restoration techniques and materials you'll need.
Essential Tools and Materials for Dashboard Crack Repair and Restoration
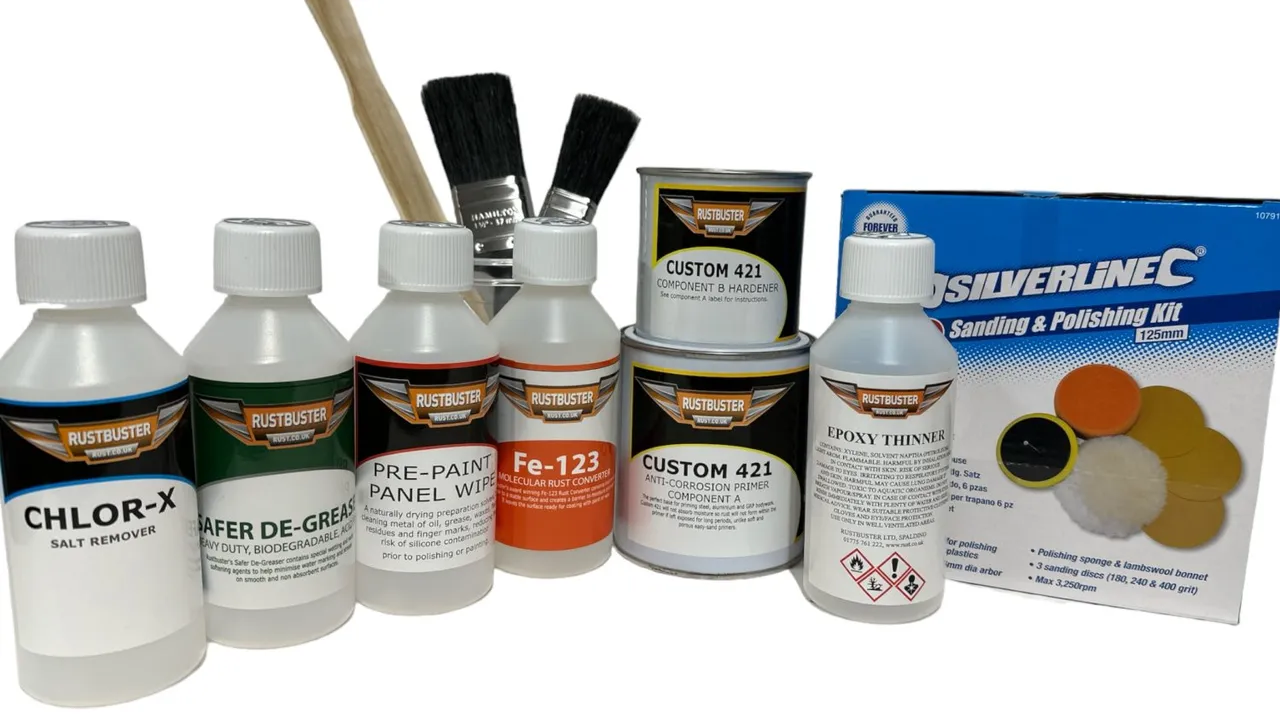
Okay, time to gear up! Here's a rundown of the essential tools and materials you'll need for most dashboard restoration projects:
- Safety Gear: Gloves, safety glasses, and a respirator are a must to protect yourself from chemicals and dust.
- Cleaning Supplies: Mild soap, water, degreaser, and vinyl cleaner for prepping the surface.
- Crack Repair Kit: Includes epoxy filler, hardener, mixing sticks, and applicator tools. Look for kits specifically designed for automotive dashboards.
- Sandpaper: A range of grits (80, 120, 220, 320, 400) for smoothing out imperfections.
- Primer: Automotive-grade primer suitable for the dashboard material.
- Paint: Automotive-grade paint that matches the original color of your dashboard. Consider using a UV-resistant paint to prevent future fading. Check with a local automotive paint supplier for the correct color code.
- Clear Coat (Optional): To protect the paint and add a glossy finish.
- Masking Tape and Paper: To protect surrounding areas from overspray.
- Heat Gun (Optional): For softening vinyl and helping adhesives bond. Use with caution!
- Upholstery Tools (Optional): If you need to remove and reinstall the dashboard.
Step-by-Step Guide to Repairing Cracks in a Classic Car Dashboard
Alright, let's get our hands dirty! Here's a step-by-step guide to repairing those unsightly cracks in your dashboard:
- Preparation is Key: Start by thoroughly cleaning the dashboard with mild soap and water. Remove any dirt, grime, or loose debris. Degrease the area around the cracks to ensure proper adhesion of the filler.
- Assess the Damage: Carefully inspect the cracks to determine their size and depth. Use a small pick or awl to remove any loose pieces of material.
- Mix the Filler: Follow the manufacturer's instructions to mix the epoxy filler and hardener. Mix only the amount you can use within the working time of the filler.
- Apply the Filler: Use an applicator tool to carefully fill the cracks with the epoxy filler. Overfill slightly to allow for sanding. Work the filler into the cracks to ensure it bonds properly.
- Cure Time: Allow the filler to cure completely according to the manufacturer's instructions. This may take several hours or even overnight.
- Sanding: Once the filler is cured, begin sanding with a coarser grit sandpaper (120 or 220) to level the filler with the surrounding surface. Gradually move to finer grits (320 and 400) to create a smooth, seamless finish. Be careful not to sand too aggressively, as you could damage the surrounding dashboard material.
- Cleaning Again: Clean the sanded area thoroughly to remove any sanding dust.
- Priming: Apply a thin, even coat of automotive-grade primer to the repaired area. Allow the primer to dry completely.
- Painting: Apply several thin, even coats of automotive-grade paint that matches the original color of your dashboard. Allow each coat to dry completely before applying the next.
- Clear Coat (Optional): If desired, apply a clear coat to protect the paint and add a glossy finish.
- Reassembly: If you removed any parts of the dashboard during the repair process, carefully reassemble them.
Addressing Fading and Discoloration on Classic Dashboards
Fading and discoloration are common problems with classic dashboards, especially those exposed to sunlight. Here's how to tackle them:
- Cleaning: Start by thoroughly cleaning the dashboard with a dedicated vinyl cleaner or interior detailer. This may remove some of the surface dirt and grime that contribute to the faded appearance.
- Dyeing/Color Restoration: For vinyl dashboards, consider using a vinyl dye or color restorer specifically designed for automotive interiors. These products can help to restore the original color and vibrancy of the vinyl. Follow the manufacturer's instructions carefully.
- Painting: If the fading is severe or the dye doesn't provide satisfactory results, you may need to repaint the dashboard. Follow the same priming and painting steps outlined above for crack repair.
- UV Protection: After restoring the color, apply a UV protectant to the dashboard to help prevent future fading.
Product Recommendations for Dashboard Restoration
Alright, let's talk specifics! Here are a few product recommendations that can help you achieve professional-quality results:
- SEM Products Flexible Parts Repair Kit: This is a highly regarded kit for repairing cracks and tears in flexible plastic and vinyl dashboards. It includes everything you need for a durable and seamless repair. Expect to pay around $50-$75. It's great for larger cracks and areas where flexibility is important.
- 3M Bondo Professional Gold Filler: A versatile filler that can be used for a variety of automotive repairs, including dashboard cracks. It's easy to sand and provides a smooth, paintable surface. A can typically costs around $20-$30. This is a good all-around filler for smaller repairs.
- Dupli-Color Vinyl & Fabric Coating: A great option for restoring the color of faded vinyl dashboards. It's available in a wide range of colors and provides a durable, long-lasting finish. A can costs around $10-$15. This is a cost-effective way to refresh the color of your dashboard.
- Krylon UV-Resistant Clear Coating: This clear coat provides excellent UV protection to prevent future fading and discoloration. It's also resistant to scratches and chemicals. A can costs around $8-$12. This is a must-have for protecting your restored dashboard from the elements.
- Meguiar's Interior Detailer: This is a great all-purpose cleaner and protectant for automotive interiors. It cleans and protects vinyl, plastic, and rubber surfaces, leaving a clean, natural finish. A bottle costs around $10-$15. Use this regularly to keep your dashboard looking its best.
Comparing Dashboard Restoration Products: Choosing the Right Option
With so many products on the market, it can be tough to choose the right one for your needs. Here's a quick comparison of some popular options:
- Crack Repair Kits: SEM Products offers professional-grade kits with excellent flexibility and durability, but they are more expensive. 3M Bondo is a more affordable option for smaller repairs.
- Vinyl Dyes/Color Restorers: Dupli-Color is a popular and affordable choice for restoring color, but the color selection may be limited. Consider professional-grade dyes for a wider range of colors and a more durable finish, but be prepared to pay more.
- Clear Coats: Krylon UV-Resistant Clear Coating is a great option for protecting against UV damage, but it may not provide the same level of gloss as a professional-grade clear coat.
Ultimately, the best product for you will depend on the specific needs of your project and your budget.
Preventing Future Damage to Your Restored Dashboard
You've put in the work to restore your dashboard, now you want to keep it looking great! Here are some tips for preventing future damage:
- Park in the Shade: Whenever possible, park your classic car in the shade to protect the dashboard from direct sunlight.
- Use a Sunshade: When you have to park in the sun, use a sunshade to block UV rays from entering the car.
- Regular Cleaning: Clean your dashboard regularly with a mild cleaner and protectant to remove dirt, dust, and grime.
- Avoid Harsh Chemicals: Don't use harsh chemicals or abrasive cleaners on your dashboard, as they can damage the surface.
- Climate Control: Try to regulate the temperature and humidity inside your car, especially during storage.
Restoring a classic car dashboard takes time, patience, and a little bit of skill. But with the right tools, materials, and techniques, you can bring your dashboard back to its former glory and enhance the overall appearance and value of your vintage vehicle. So, roll up your sleeves, grab your tools, and get ready to transform that tired-looking dashboard into a show-stopping centerpiece! Good luck, and happy restoring!
:max_bytes(150000):strip_icc()/277019-baked-pork-chops-with-cream-of-mushroom-soup-DDMFS-beauty-4x3-BG-7505-5762b731cf30447d9cbbbbbf387beafa.jpg)


