Headliner Replacement: A Step-by-Step Tutorial
Learn how to replace the headliner in your classic car with a step-by-step tutorial. Understand the importance of proper tension and adhesive application. Improve the appearance of your interior.
Why Replacing Your Classic Car Headliner Matters Upholstery Restoration
Okay, so your classic ride is looking pretty sharp, right? But what about that sagging, stained, or torn headliner? It's like wearing a tuxedo with dirty sneakers – just doesn't quite cut it! Replacing your headliner not only drastically improves the interior aesthetics but also enhances the overall value of your classic. A fresh headliner gives your car a clean, well-maintained feel, making it a pleasure to drive and show off. Think of it as the finishing touch to your interior restoration project.
Tools and Materials You'll Need Headliner Installation
Before diving in, gather your supplies. Having everything on hand will make the process smoother and less frustrating. Here's a list of essentials:
- New headliner (make sure it's specifically designed for your car model and year!)
- Headliner adhesive (high-temperature resistant)
- Contact cement
- Foam Padding (if the original padding is damaged)
- Spray bottle with water
- Heat gun (or a powerful hairdryer)
- Clamps (various sizes)
- Trim removal tools
- Screwdrivers (various sizes)
- Socket set
- Utility knife or razor blade
- Gloves
- Safety glasses
- Measuring tape
- Scissors
- Clean rags
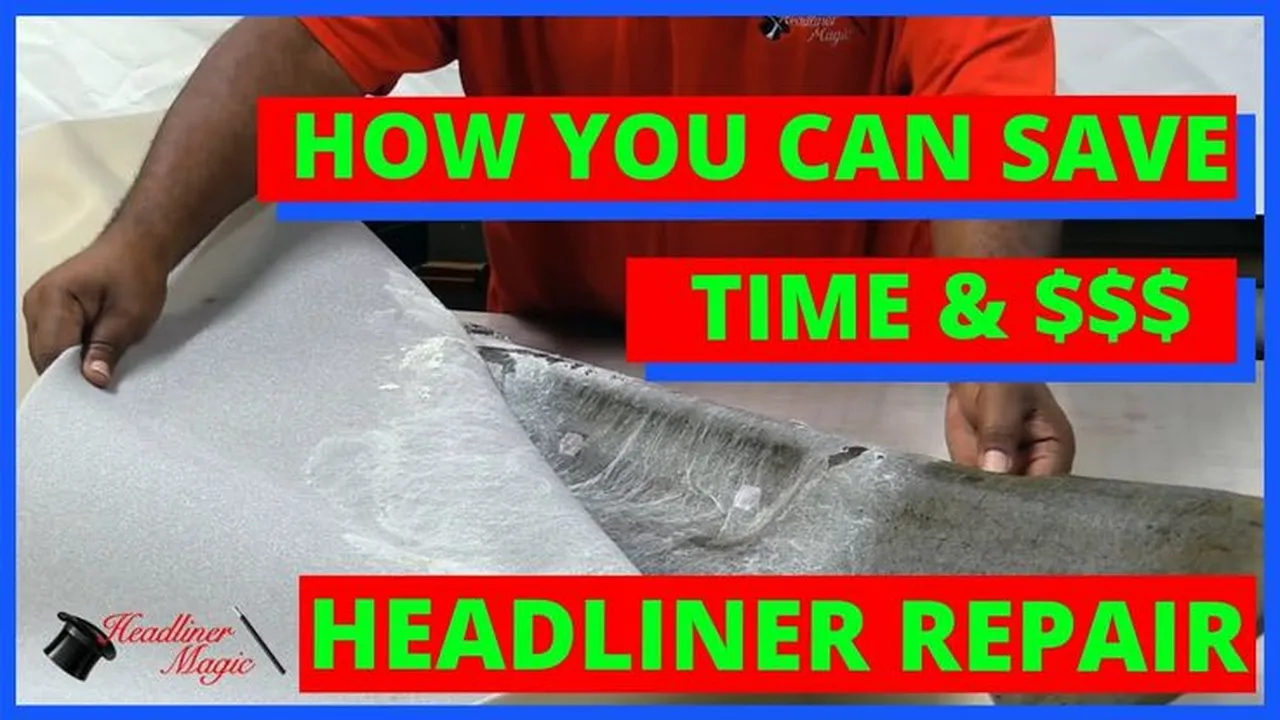
Step 1 Removing the Old Headliner Classic Car Interior
This can be a messy job, so wear gloves and safety glasses. Start by carefully removing all the trim pieces holding the headliner in place. This usually includes sun visors, dome lights, coat hooks, and pillar trim. Use trim removal tools to avoid damaging the trim or the surrounding areas. Gently pull down the old headliner. It will likely be brittle and may crumble. Be prepared for a bit of a dust storm! Once the headliner is removed, scrape off any remaining adhesive and foam from the roof of the car. A putty knife or scraper will come in handy here. Clean the surface thoroughly with a solvent to remove any residue. This is crucial for the new adhesive to bond properly.
Step 2 Preparing the New Headliner Headliner Fabric Selection
Lay the new headliner out flat in a clean, dry area. If it's been folded, you might need to use a heat gun (on low setting!) to gently remove any creases. Be careful not to overheat the material. Test fit the headliner in the car to get a feel for how it will sit. This is a good time to identify any potential issues or adjustments that need to be made. If your car originally had bows (metal rods that support the headliner), make sure they are in good condition and properly installed. Clean them if necessary.
Step 3 Applying Adhesive Headliner Glue Application Techniques
This is where patience and precision are key. Start by spraying a light, even coat of headliner adhesive to the roof of the car and the back of the headliner in the area you're working on. Follow the adhesive manufacturer's instructions for drying time. Typically, you'll want to let it tack up for a few minutes before pressing the headliner into place. Work in small sections, usually from the center outwards, to avoid wrinkles and bubbles. Use your hands to smooth the headliner onto the roof, ensuring good contact with the adhesive. If you're using bows, carefully slip the headliner over them as you go.
Step 4 Stretching and Securing the Headliner Headliner Tensioning Tips
Once the headliner is in place, it's time to stretch and secure it. This is where the clamps come in handy. Start at one edge of the headliner and gently stretch it towards the corresponding edge of the car. Use clamps to hold the headliner in place while the adhesive dries. Work your way around the perimeter of the headliner, stretching and clamping as you go. Pay close attention to corners and curves, as these can be tricky. Use a heat gun (again, on low setting!) to gently warm the headliner and make it more pliable. This will help you achieve a smooth, wrinkle-free finish. Be careful not to overheat the material, as this can damage it.
Step 5 Trimming the Excess Material Headliner Edge Finishing
Once the adhesive has fully dried (follow the manufacturer's instructions), it's time to trim the excess material. Use a sharp utility knife or razor blade to carefully trim the headliner along the edges of the car. Leave enough material to tuck behind the trim pieces. Be careful not to cut into the surrounding areas. Tuck the edges of the headliner behind the trim pieces, using a screwdriver or trim removal tool to help. Make sure the headliner is securely tucked in and that there are no loose edges.
Step 6 Reinstalling the Trim and Finishing Touches Interior Trim Replacement
Now, reinstall all the trim pieces you removed in Step 1. This includes sun visors, dome lights, coat hooks, and pillar trim. Make sure all the screws and fasteners are tightened securely. Clean the new headliner with a soft cloth to remove any fingerprints or smudges. Step back and admire your work! You've just given your classic car's interior a major upgrade.
Product Recommendations for Headliner Replacement Classic Car Supplies
Choosing the right products can make a big difference in the outcome of your headliner replacement project. Here are a few recommendations:
Headliner Fabrics Product Comparison and Pricing
- Original Auto Interiors Headliner Material: This is a popular choice for those seeking an authentic look. They offer a wide range of colors and patterns to match original specifications. Expect to pay around $50-$100 per yard. Good for full restorations where originality is key.
- SMS Auto Fabrics Headliner Material: Another reputable supplier of high-quality headliner fabrics. They specialize in hard-to-find materials for various classic car makes and models. Prices range from $60-$120 per yard. Ideal for specific car models with unique fabric requirements.
- Generic Automotive Headliner Material: If you're on a budget, you can find generic headliner materials at most auto parts stores. These are generally less expensive (around $20-$50 per yard) but may not be as durable or authentic-looking. Suitable for budget-friendly restorations or daily drivers.
Headliner Adhesives Selection Guide and Usage
- 3M Super 77 Multipurpose Adhesive: A versatile spray adhesive that works well for headliner installation. It provides a strong bond and is easy to apply. A can typically costs around $15-$20. Best for general headliner applications.
- Loctite High Strength Spray Adhesive: A high-performance adhesive designed for demanding applications. It offers excellent heat resistance and long-lasting bond strength. Expect to pay around $20-$25 per can. Recommended for vehicles exposed to high temperatures.
- Upholstery Contact Cement: For areas needing extra adhesion, especially around edges. Brush application allows for precise placement. Usually costs $20-$30 per quart. Perfect for securing edges and ensuring a tight fit.
Tools for Headliner Installation Essential Equipment and Prices
- Trim Removal Tool Set: Essential for removing interior trim pieces without damage. A good set typically costs around $20-$30. Crucial for preventing damage to delicate trim.
- Heat Gun: Useful for softening the headliner material and removing wrinkles. A basic heat gun can be purchased for around $25-$40. Helps achieve a smooth, wrinkle-free finish.
- Upholstery Clamps: Used to hold the headliner in place while the adhesive dries. A set of clamps typically costs around $15-$25. Ensures a secure bond during the drying process.
Common Mistakes to Avoid During Headliner Replacement Headliner Troubleshooting
Even with the best preparation, mistakes can happen. Here are a few common pitfalls to watch out for:
- Using the wrong adhesive: Make sure to use a high-temperature resistant adhesive specifically designed for headliners. Regular adhesives may fail in hot weather.
- Applying too much adhesive: This can cause the adhesive to bleed through the headliner material. Apply light, even coats.
- Not cleaning the roof properly: Any remaining adhesive or debris will prevent the new headliner from bonding properly.
- Stretching the headliner too much: This can cause it to tear or distort. Stretch gently and evenly.
- Rushing the process: Take your time and be patient. Rushing can lead to mistakes and a poor-quality finish.
Maintaining Your New Headliner Long-Term Care Tips
Once your new headliner is installed, proper maintenance will help keep it looking its best for years to come. Here are a few tips:
- Vacuum regularly: Use a soft brush attachment to vacuum the headliner regularly to remove dust and dirt.
- Spot clean stains: Clean any stains immediately with a mild detergent and a soft cloth.
- Avoid harsh chemicals: Do not use harsh chemicals or abrasive cleaners on the headliner.
- Park in the shade: Parking in the shade will help protect the headliner from fading and cracking.
:max_bytes(150000):strip_icc()/277019-baked-pork-chops-with-cream-of-mushroom-soup-DDMFS-beauty-4x3-BG-7505-5762b731cf30447d9cbbbbbf387beafa.jpg)